This post may contain affiliate links. Please read our disclosure policy.
My homemade cherry pie filling recipe is so much better than standard canned or store-bought pie filling, and it takes less than 15 minutes on the stove. Made with fresh or frozen sour cherries, sugar, cornstarch, and a squeeze of lime, this recipe makes a glossy, thick, brilliantly flavored filling that’s ready for any pie, cherry galette, slab pie, cheesecake, or bowl of ice cream you care to put it in.

Cherry is the first fresh fruit filling I ever cooked before adding it to a pie. I was inspired by my sister-in-law, Amara, who likes to cook her fillings (apple, cherry, peach) before baking the pie. She likes the control this gives her in determining if the filling is properly thickened and flavored. I agree and have never gone back since trying it myself!
Whether you’re baking a classic cherry pie or utilizing this luscious filling in various desserts, understanding how to make it from scratch can elevate any recipe you use it in.
Ingredients and Notes
Please be sure to scroll down to the recipe card for the complete ingredient list and instructions!
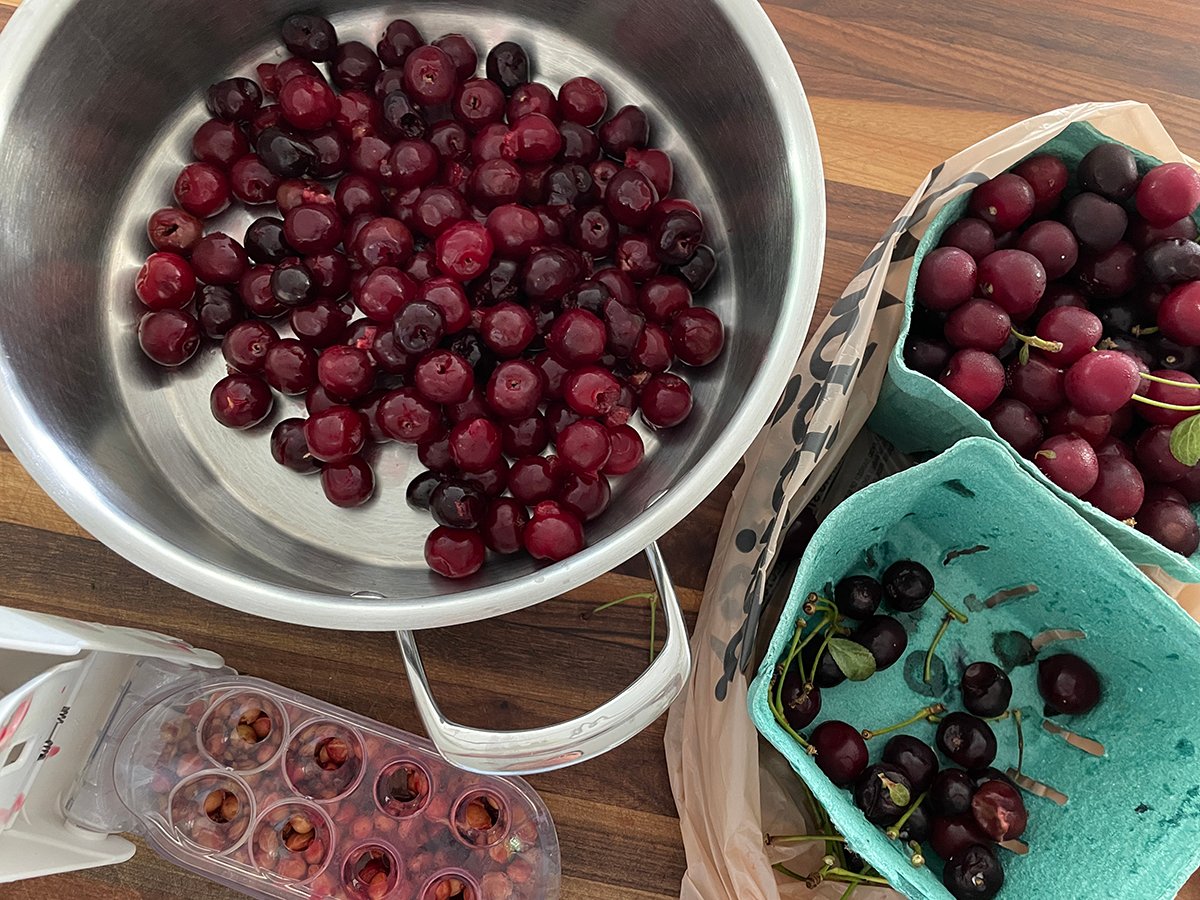
- Fresh Cherries: This is not the filling for Bing cherries or other sweet cherries. Sour cherries are the foundation of the filling, bringing out a more authentic cherry flavor. Fresh cherries are wonderful, but also require pitting before cooking. Frozen sour cherries are a time-saving alternative because they are already pitted. They are just as good as fresh tart cherries for making pie filling. Frozen are my preference! Especially here in Michigan, where they are an important crop, and we can find them readily.
- Sugar Mixture: Granulated sugar or cane sugar are my go-tos for sweetening pie filling. You can sub in some brown sugar if you like. And if you prefer less sugar, you can adjust the amount by starting with half, stirring it in, tasting, and adding more as needed to suit your tastes.
- Cornstarch Slurry: This acts as a necessary thickener, giving your cherry filling a glossy finish.
- Lime: I use lime juice and zest to give the filling a brighter flavor. It’s more fragrant than lemon, adding another dimension. However, lemon works, too, if that’s what you have.
- Almond Extract: Just a quarter teaspoon is all you need. Cherries and almonds are botanical cousins, and almond extract is the classic flavor enhancer in cherry pie filling. It doesn’t taste like an almond so much as it makes the cherry flavor taste more intensely like itself. Don’t skip it. And don’t overdo it!
- Rose Water: A whisper of rose water lifts the whole filling, giving it a subtle, unexpected floral taste. My special touch!
How to Make Cherry Pie Filling
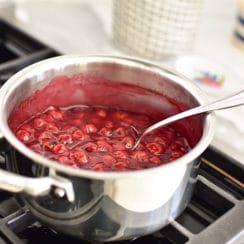
- Cook the cherries. In a medium-sized heavy-bottomed saucepan, combine the pitted cherries and sugar over medium-high heat. Stir occasionally as the cherries warm, release their juices, and begin to burst. The mixture will turn deep red and fragrant.
- Make the slurry. In a small bowl, whisk together the cornstarch and 3 tablespoons of cold water until completely smooth. Using cold water is important. Warm water can cause the cornstarch to clump before it hits the pot.
- Reduce heat and thicken. Reduce the heat to low and let the cherry mixture cool slightly for a minute or two. Stir in the cornstarch slurry, lime juice, and lime zest, whisking continuously as the filling thickens. It will go from a loose, juicy mixture to a glossy, jammy filling in just a few minutes. If using fresh cherries (which release less liquid than frozen), you may need an extra tablespoon of water in the slurry.
- Flavor. Remove from the heat and stir in the almond extract and rose water. Taste, and add more sugar if your filling needs sweetness or more lime juice if it needs brightness.
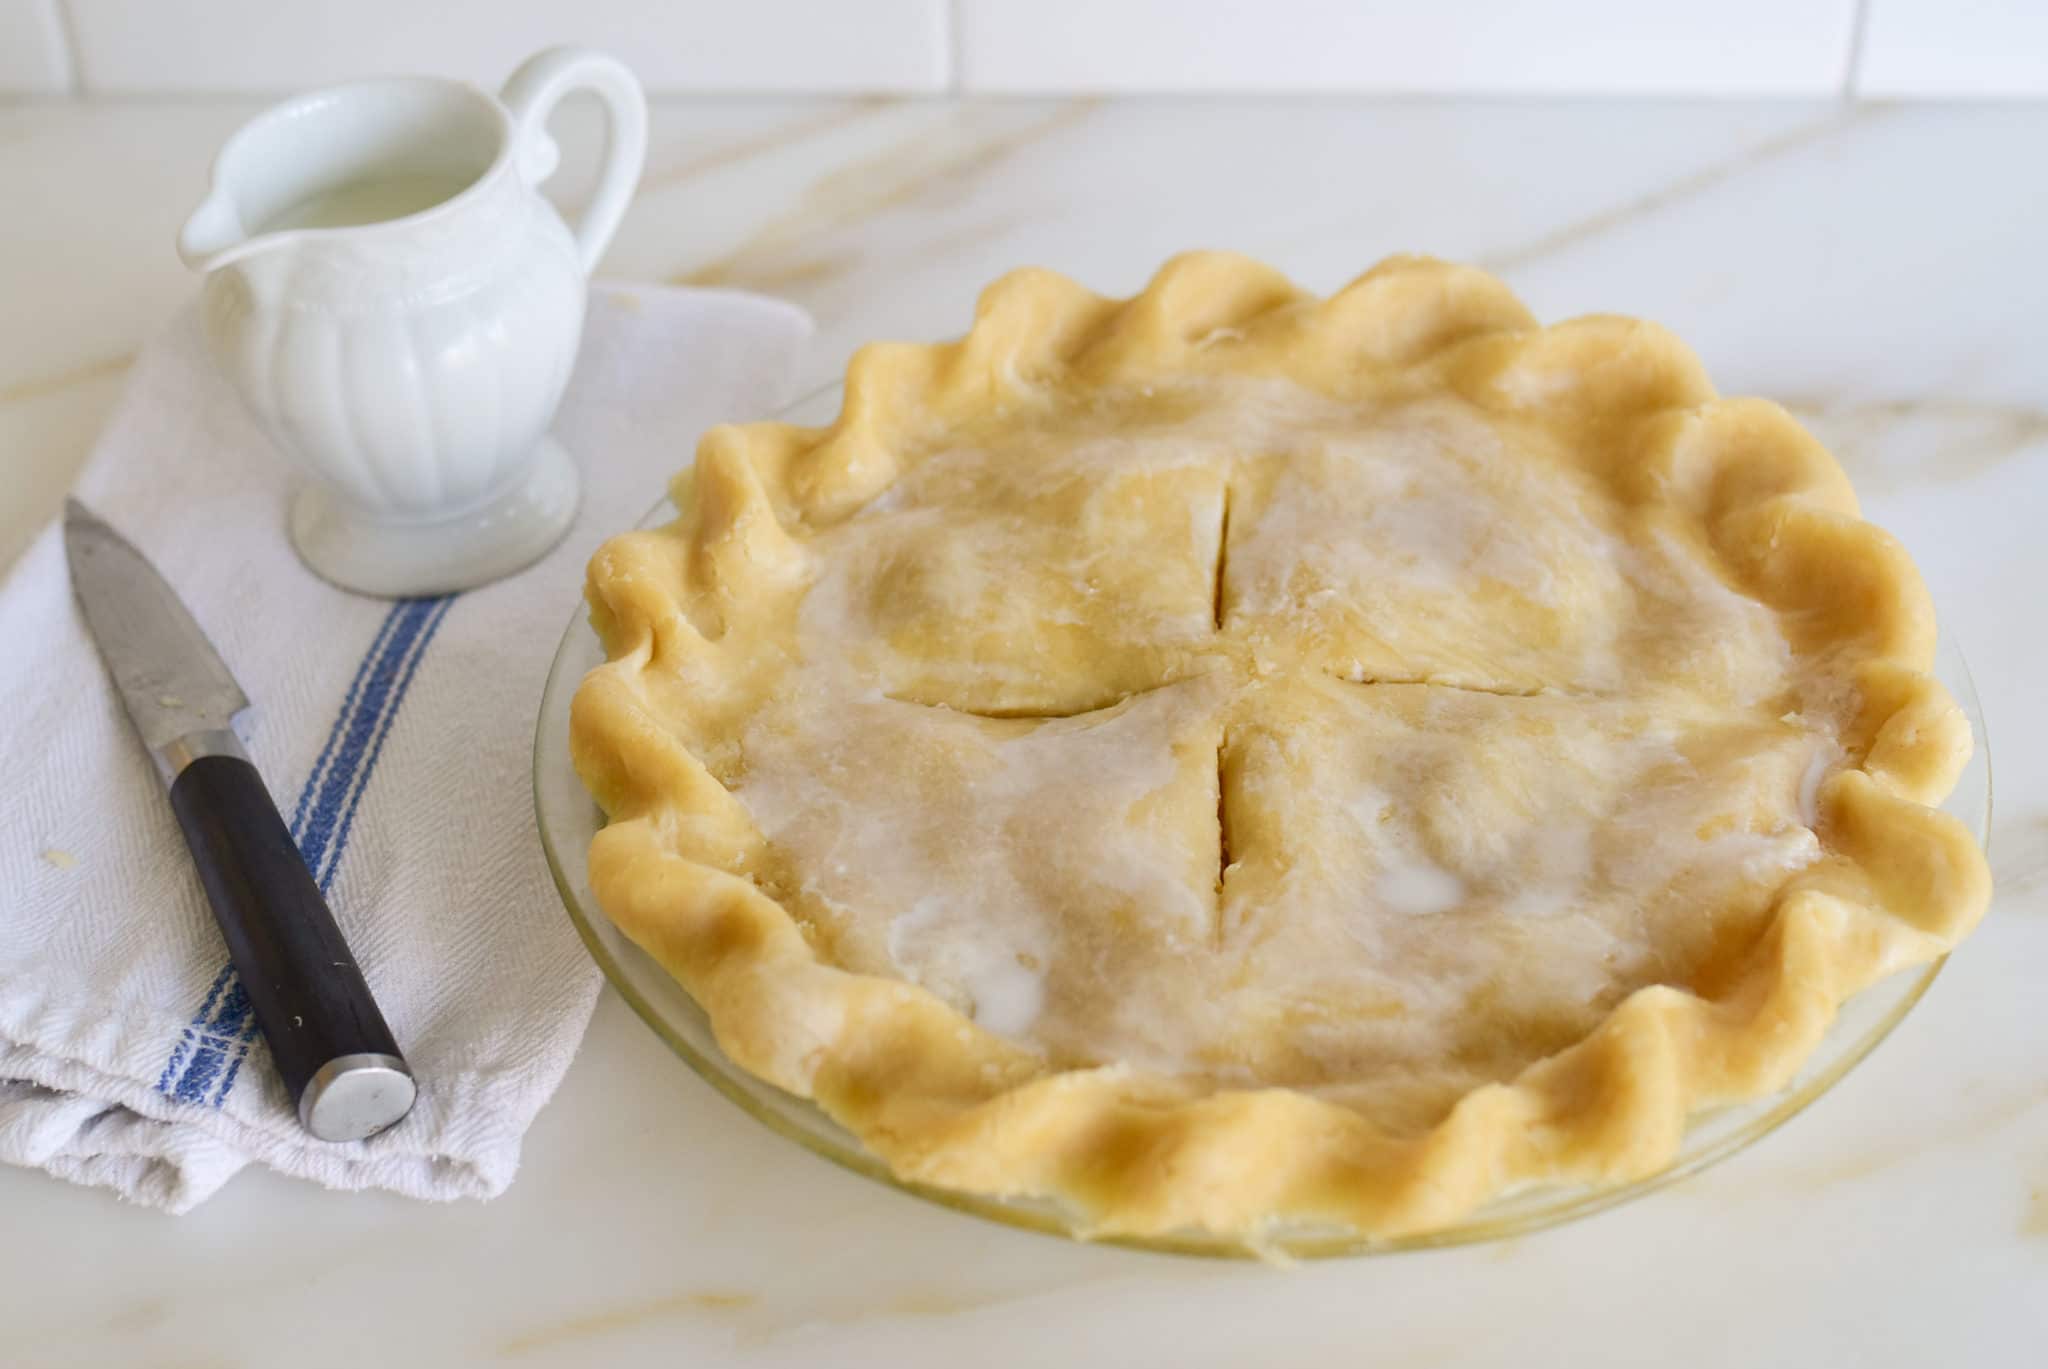
- Cool completely before using. Let the filling come to room temperature before adding it to a pie crust or storing. A hot filling going into an unbaked crust can make the bottom soggy.

Tips for the Best Cherry Pie Filling
- Pit fresh cherries. My favorite cherry pitter pits several at the same time to speed up the process. You can always freeze the pitted cherries to have them at the ready, or use frozen purchased sour cherries. No need to thaw them before cooking.
- Don’t skip the pre-cook. Most pie recipes add filling directly to the crust raw and rely on oven time to thicken it. Cooking it first gives you two advantages. First, you know exactly how thick it will be before it goes into the pie, and the finished pie slices cleanly without the filling oozing everywhere.
- Cool the mixture before adding the slurry. Adding the cornstarch slurry to a vigorously boiling mixture can cause it to seize up unevenly. Pull the heat back first to prevent clumping.
- The filling thickens more as it cools. Just like raspberry jam or strawberry jam, a filling that looks slightly loose off the stove will set to a thicker consistency at room temperature. Trust the process. Don’t cook it down so far that it becomes gummy.
- Adjust the sugar according to the cherry variety and ripeness. Cherries vary widely in tartness depending on variety and season. Start with the recipe amount and taste as you go, adding more as needed.
- Create a pretty filling. Stir gently and avoid mashing. The goal is for the cherries to hold their shape while softening perfectly.
Ways to Use Homemade Cherry Pie Filling
This very easy homemade cherry pie filling goes so many places!
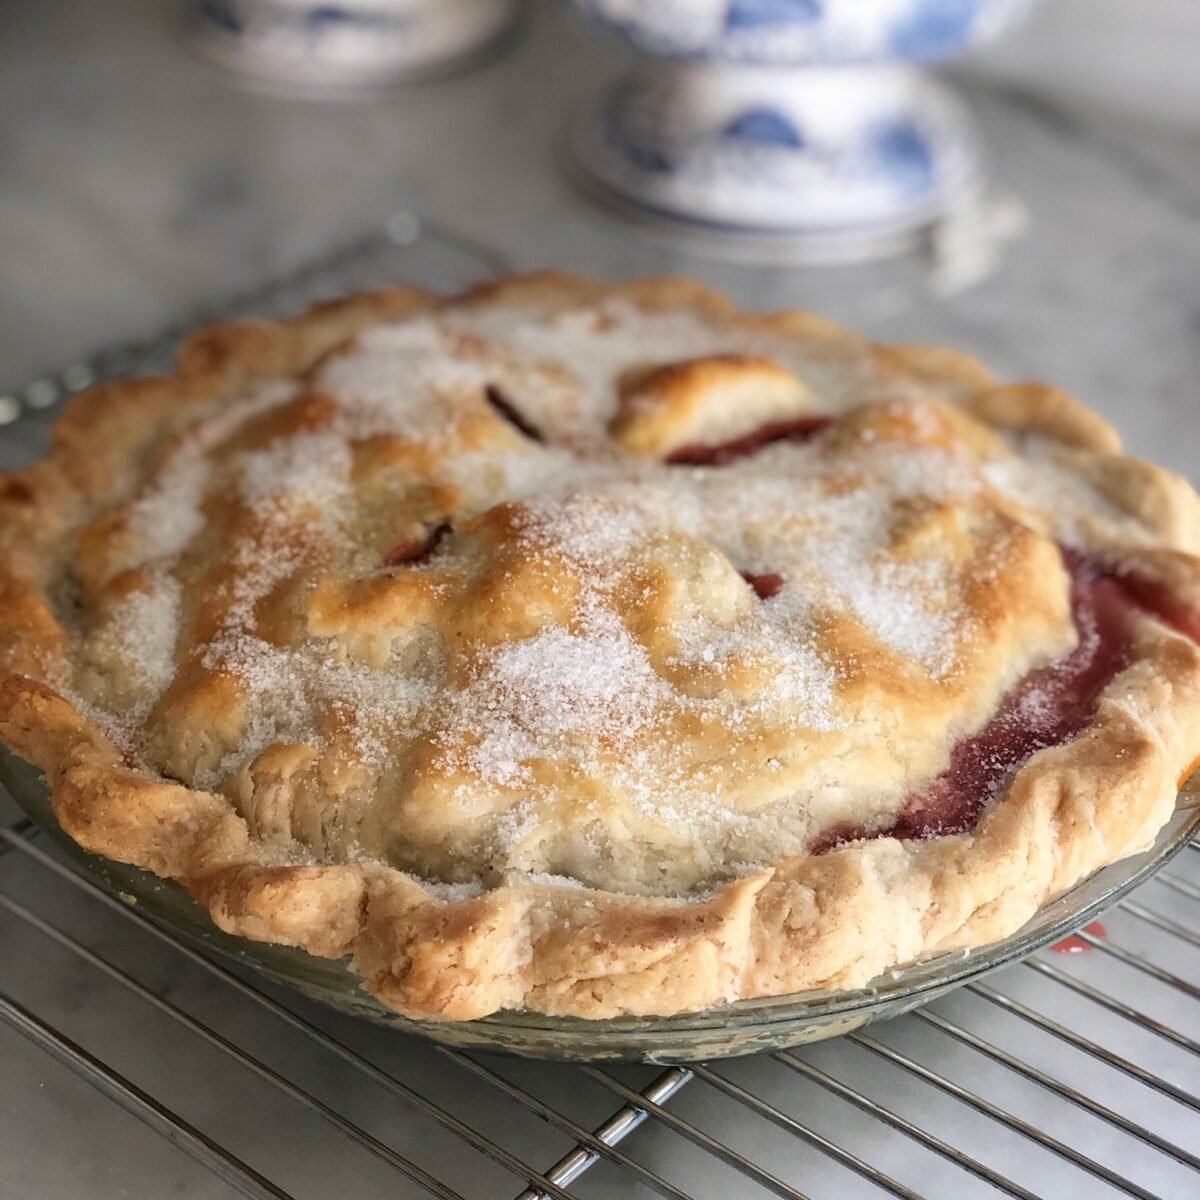
- Cherry Pie: Who doesn’t want a piece of warm cherry pie?! Choose your favorite pie crust, be it store-bought pie crusts or homemade pie crust. My favorite crust is oil pie crust, which my mother made exclusively, but butter pie crust or coconut oil pie crust are wonderful. Make a double-crust pie, lattice pie, or cherry slab pie (for my slab pie recipe, double the filling recipe here).
- Cherry Galette: Make a rustic galette with the filling. Simply replace the uncooked sugared cherries in my galette recipe with some or all of the cherry pie filling that is already cooked. The recipe remains the same otherwise. Serve with a scoop of vanilla ice cream!
- Yogurt Parfaits or Ice Cream Sundaes: Layer cherry pie filling with morning yogurt for a total treat. Or, add some to a yogurt smoothie, ice cream sundaes, or tart cherry sorbet sundaes.
- Black Forest Cake: Incorporate the filling as the traditional cake filling in black forest cakes.
How to Store
Once your cherry filling is prepared, store it in an airtight container or a mason jar. This can be kept in the refrigerator for up to 3 days if you’re planning to use it soon. The filling in a nice jar makes a lovely gift, actually! Just be sure your recipient knows it’s for the fridge, not the pantry.
Or, freeze leftover filling for up to 6 months. Ladle the filling into freezer-safe jars or containers, leaving an inch of headspace for expansion during freezing. Then, thaw in the fridge to serve. I love to freeze fillings so I can bake a pie much faster when the spirit moves me!
Cherry Pie Filling Recipe
Equipment
Ingredients
- 4 cups sour cherries, pitted, from fresh or frozen
- 1 cup granulated sugar, or cane sugar
- 1/4 cup cornstarch
- 1 lime
- 1/4 teaspoon almond extract
- 1/4 teaspoon rose water
Instructions
- In a medium heavy pot, cook the cherries and sugar over medium high heat until the cherries have burst and released their juices, about 10 minutes. Reduce the heat to low to cool the mixture slightly.
- In a small bowl, stir to combine the cornstarch with 3 tablespoons cold water. Stir this mixture into the cherries along with the juice and zest of the lime, almond extract, and rose water. Cook until thickened.
- Remove from the heat and cool to room temperature before storing in the refrigerator or freezer. Or, use immediately in an 8- or 9-inch pie, galette, or other recipe.
Notes
Nutrition
Nutrition information is automatically calculated, so should only be used as an approximation.
Frequently Asked Questions
Yes, but drain them well first, and use the reserved cherry juice in place of water in the cornstarch slurry. The flavor will be milder than fresh or frozen, but the filling will still come together nicely.
Push a sturdy straw or the back of a chopstick through the stem end of the cherry. The pit pops right out. It’s messier than a proper pitter, but it works. A cherry pitter that handles multiple cherries at once is a worthy investment if you make this regularly.
Yes. Start with half the amount, taste the cooked filling, and add more to reach your preferred level of sweetness. Just note that less sugar may result in a slightly looser filling, since sugar plays a minor role in the consistency.


What size mason jar do you need to store the cherry pie filling?
Thanks Carla, use a quart jar!