This post may contain affiliate links. Please read our disclosure policy.
Apple pie filling is a great way to make-ahead for easy, fast assembly and baking of your apple pie. My recipe includes which apple varieties are best for excellent homemade apple pie filling.
If you enjoy this apple pie filling, try my cherry pie filling, too!
I have to admit that the apple pie here is typically last or near-last on the list of must-make for Thanksgiving. As a stand-alone pie especially when apple season hits in the fall, apple pie is the star. In summer, never. Much to my profound regret, after telling my adorable nephew and godson one mid-summer day that I don’t make apple pie in the summer. I learned from his equally adorable mother, Amara, that apple is my habibi’s favorite pie. Live+learn = Aunt Maureen.
One Thanksgiving, it was quite literally the morning of, 30 people arriving by 2, and I conferred with my crew on the Thanksgiving pies list. Amara wondered if we had apple on deck. Oh Lord, I had all of the beautiful apples in a bag somewhere but I hadn’t gotten to that one. No WAY I was going to disappoint my godson again. But time, time was tight. Amara whipped into action, never mind three little bambinos underfoot: apples were delivered to her, and her filling, already cooked, was delivered back to me within the hour. What the? How easy was that?! I made the fastest Mom’s oil crust of my life, filled and crimped and found a place in the hot oven to bake it off.
If that wasn’t the best pie of the day! I mean, I don’t often do this but that day I cut a massive wedge and hid it in the laundry room. One leftover I could count on.
During our ritual glass of wine at the end of a holiday day, I pulled out the pie. It was sweet-tart, the way I love my fruit. Mom’s crust, perfection. Amara said her way is simple, and she always cooks the filling in batches in the fall season, freezes, and then has apple pie at the ready for months to come.
What she loves most about cooking the filling first is what I too love: control. You can taste, add more sugar, a squeeze of lemon, the right amount of thickener.
I added whispers of both orange blossom and rose waters to incredibly delicious effect. Not the flavor of orange blossom or rose, actually, but a heightening of the apples’ natural floral tendency. Oh my gosh yes. That’s the kind of glory that will inspire me to make apple pie all year long. Especially when my nephew is coming to dinner.
Ingredients for Apple Filling
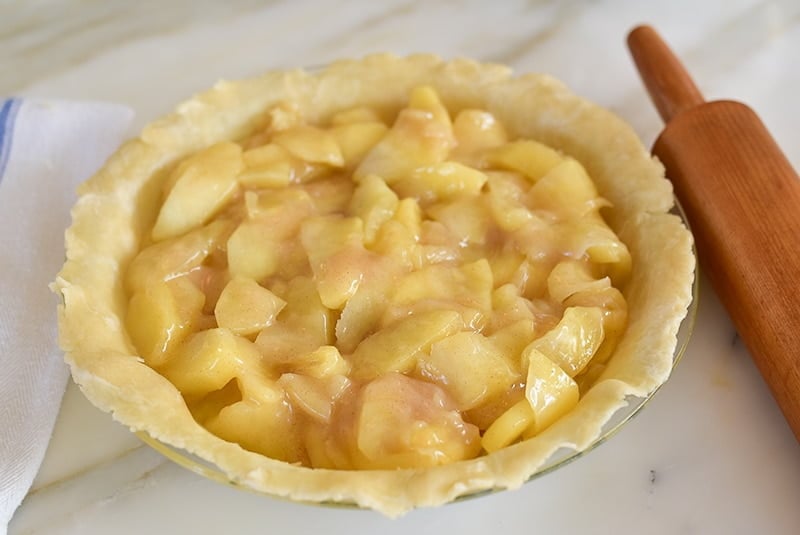
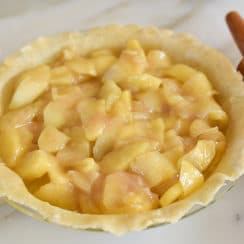
Apples are of course the key to getting right here. Use at 6-7 large apples (see below regarding varieties), and try not to use fewer. This is the right amount to fill the crust nicely without the pie being too thin or too tall.
The apple filling includes a touch of unsalted butter, granulated sugar (plus more for dusting the pie, a nice finishing touch) and flavorings.
For the flavoring, cinnamon is traditional. I add to that a whisper of Orange blossom water and Rose water, which brings out the apple flavor beautifully. Lemon juice also harmonizes here and enhances the tart flavor we’re after.
For thickener, you can use flour or cornstarch. Here I call for cornstarch but when I don’t make a filling ahead as we do here, I use flour.
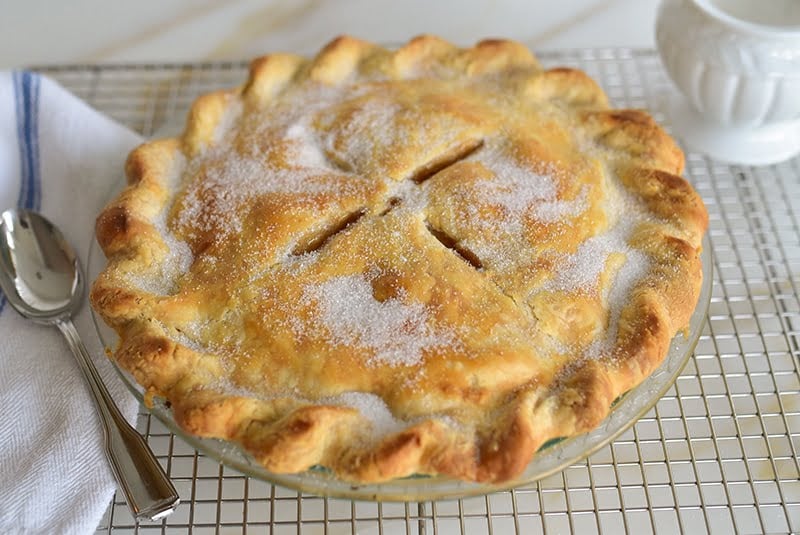
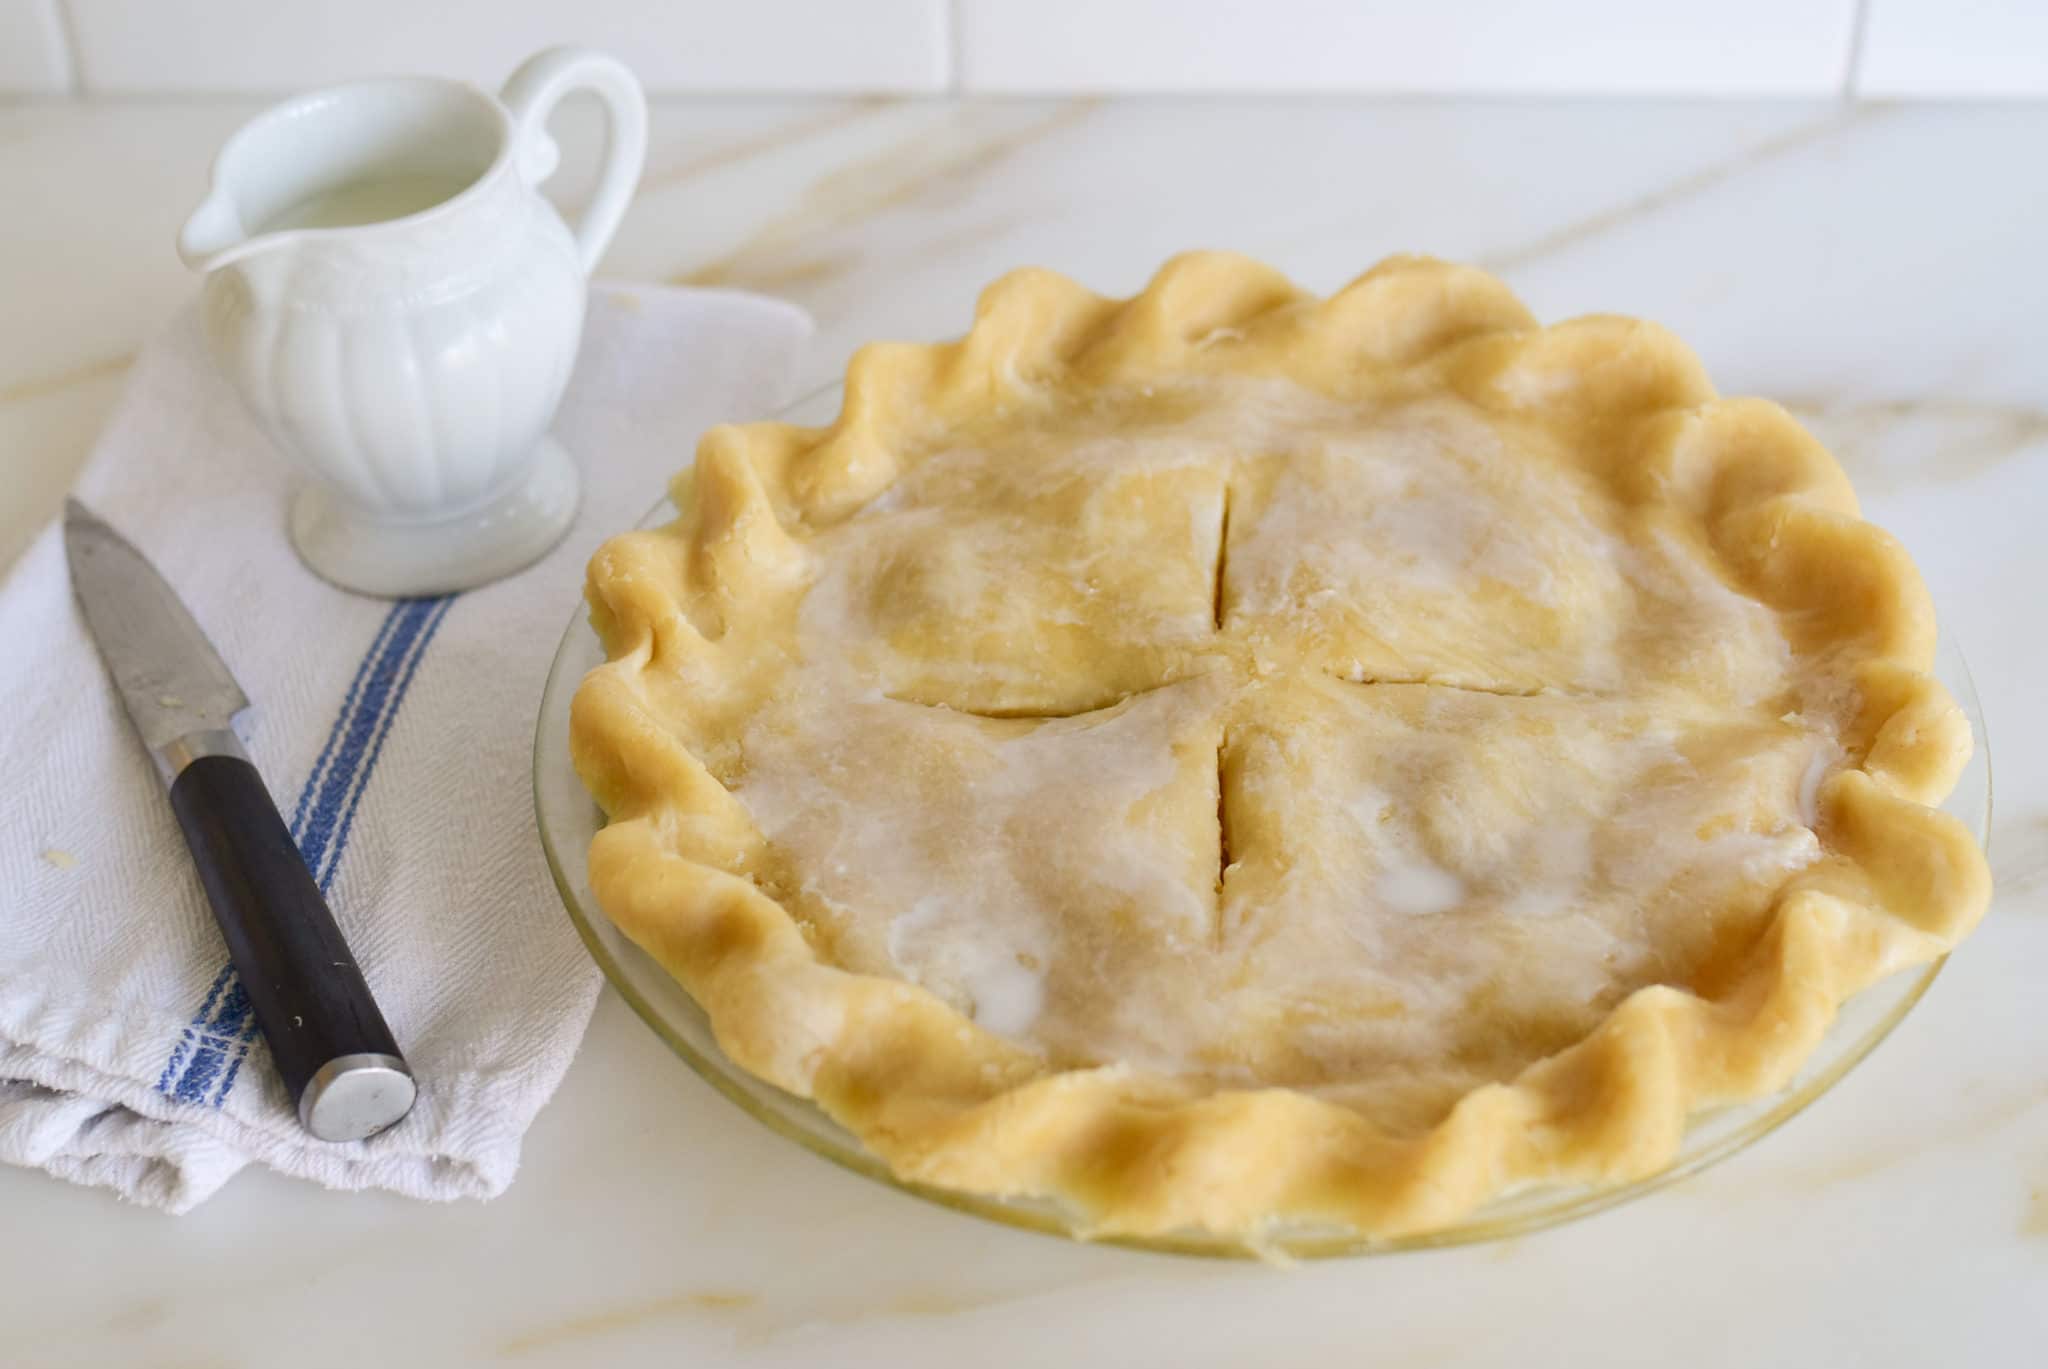
To finish the pie, make an oil pie crust for double crust apple pie, or my Dutch Apple Pie recipe with a streusel top. Or make it extra easy and use a store bought crust!

What Type of Apple are Best to Use?
The apple pies with the most delicious filling use either more than one variety of apples to achieve a balance of sweetness and tartness. Some older types of apples such as Spy and Jonathan are wonderful for pie, but may not be as readily available. My go-to is a mix of Honeycrisp apples and Granny Smith Apples, which are sweet-tart apples and great with the fruity sweetness any other apples in the pie. Try Pink Lady, Golden Delicious, and any apple that looks good at the market. Ask someone or look up the flavor profile of the apples so you get the balance just right. Look for a crisp apple that will impart great texture and stand up to cooking.
How to Make Apple Pie Filling
Here are five easy steps to the best apple pie filling you can make or eat!
Peel and core the apples. Slice them in 1/4-inch thick wedges. In a large bowl, combine sugar, cinnamon, orange blossom water and rose water. Add the apple slices. Stir to combine and set aside to rest for 5 minutes. This allows the juices to get flowing!
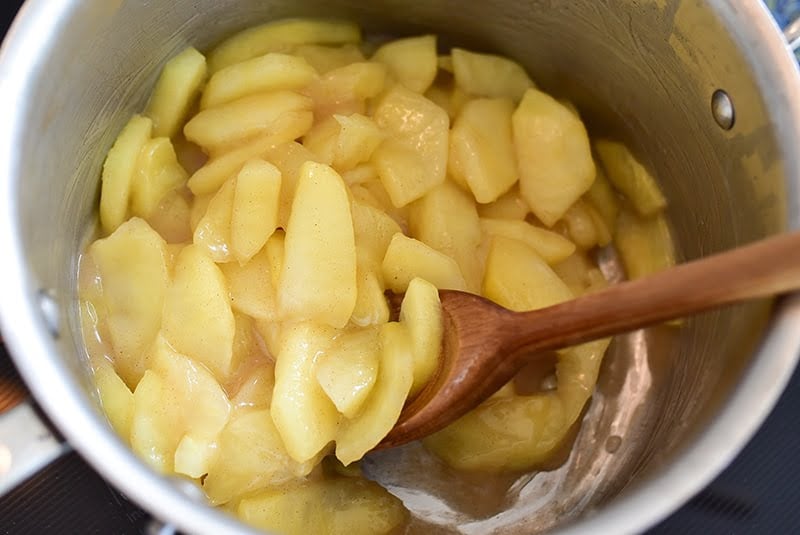
Melt butter in a saucepan and add the seasoned apples with the lemon juice and water. Cover and cook for 4 minutes, stirring occasionally.
This is a crucial moment: take care not to overcook the apples here; we don’t want mushy apples or apple sauce!
Reduce the heat under the apples to low to add the cornstarch mixture. This is also key to allowing the cornstarch to cook properly without seizing.

Variations
There are all kinds of interesting ways to change-up the apple pie filling ingredients. Here are a few:
Substitute brown sugar for the granulated sugar in the filling for added depth of flavor from the molasses that is in brown sugar.
I love using flower waters that bring out the best apple flavor; a combination of rose water and orange blossom water is wonderful. You can change that out for pure vanilla extract.
Warm spices are another easy way to change up your homemade apple pie filling recipe. Cinnamon is a natural with apples, but a light touch of cardamom, nutmeg, or ginger are also delicious.
Try out a different kind of apples with your fillings, always making sure not to use just sweet or just tart fresh apples, but a mix.
Pro Tips
To prevent your apple pie filling from being too watery, you will add that thickener to get the juices thicker. Making apple pie filling on the stovetop in advance gives you so much control over the consistency of the filling, compared to adding raw apples directly to a pie and then baking. As you cook the filling, the apples will release their delicious juices (a good thing!). Add a cornstarch slurry or a flour slurry to thicken the juices. After the pie bakes and cools, the filling will hold its shape in the pie slices.
Storage
One of the great advantages of baking apple pie by making apple pie filling on the stovetop first is how well it stores as a make-ahead component of your pie. Cool the filling to room temperature after it is done cooking, then place in an airtight container and refrigerate for up to 3 days or freeze for up to 6 months in freezer-safe containers. I like to use a freezer bag to freeze apple piefilling. When you have an abundance of apples, you can make as many batches as you like of delicious apple pie filling and store it, in batches for easier thawing, to use in your pies for months to come.
Apple Pie Filling Recipe
Ingredients
- 7 large apples, such as a mix of Honey Crisp and Granny Smith
- 1 cup granulated sugar
- 1 teaspoon cinnamon
- 2 teaspoons rose water
- 2 teaspoons orange blossom water
- 1 tablespoon lemon juice
- 3 tablespoons unsalted butter
- 5 tablespoons water
- 3 tablespoons corn starch
Instructions
- Peel and core the apples. Slice them in 1/4-inch thick wedges.7 large apples
- In a large bowl, combine sugar, cinnamon, orange blossom water, rose water, and lemon juice Add the apple slices. Stir to combine and set aside to rest for 5 minutes.1 cup granulated sugar, 1 teaspoon cinnamon, 2 teaspoons rose water, 2 teaspoons orange blossom water, 1 tablespoon lemon juice
- In a medium saucepan, melt the butter over medium heat. Add the apple mixture and stir to combine.3 tablespoons unsalted butter
- Cover and cook for about 5 minutes, stirring occasionally, until the apples soften and cook through but retain their shape. Reduce the heat to low.
- In a small bowl, combine the cornstarch and 5 tablespoons of water. Stir the mixture into the cooked apples and heat until the liquid warms through and thickens, one minute. Remove from the heat.5 tablespoons water
- Proceed with using the filling in an apple pie or other apple recipe. If making ahead, cool the filling to room temperature, then store it in an airtight container in the refrigerator for up to 3 days or in the freezer for up to 6 months.3 tablespoons corn starch
Nutrition
Nutrition information is automatically calculated, so should only be used as an approximation.


Hi Maureen -I actually love this format of having the ingredients listed after instruction. It’s very helpful , less scrolling!
Thank you Joy!
Something is very wrong with your printout of this recipe. It repeats portions of data in unrelated places making nonsense.
I know this problem is coming from your end, …perhaps the way it was handled at the input stage of a formatted recipe program.
Hi Mare, you’re seeing the ingredients re-listed to help as you add them to the recipe. I have that on just a few of my recipes and some find it helpful. Might be more of a distraction than a help though! Thanks for commenting.
If I use pie filling after it, it’s been in the freezer, do I thaw the filling first before putting in the crust? Or do I put it frozen or semi frozen into my pie crust, if I’m using frozen filling, will it be watery?
Sharon good question. Thaw the apples in the refrigerator first. I have added the filling semi-frozen to the crust and it came out fine, fyi. Nothing watery at all, just wonderful!
Awesome.
Well done
Great stuff
Thank you!
Maureen
I am intrigued with making your apple pie filling with orange blossom water and rose water. I have used both of these in many Lebanese desserts in the past. Now, my question is this.
My waters are old (several years old) and I am afraid their potency is not up to par when adding for pastries. How long should these be kept before discarding and replacing with fresh taste? I know I have gone through spices, discarded those that have lost their vibrancy, but does the same happen with waters. Thank you for your insights.
Hi Mary Ann, it’s a good question. Yes, the flower water flavor will diminish over time (though they don’t seem to “go bad” per se). A fresh bottle annually is a good thing!
I’m using you’re recipe tonight for our Christmas dinner tomorrow. I do wonder why pie crust is not made sweet.
Hi Mari, this is just the style of the crust and we love it! But you can add sugar, a tablespoon or two, if you like.