This post may contain affiliate links. Please read our disclosure policy.
Here is a simple recipe for how to make yogurt succesfully. This homemade yogurt requires just two ingredients and no special equipment.
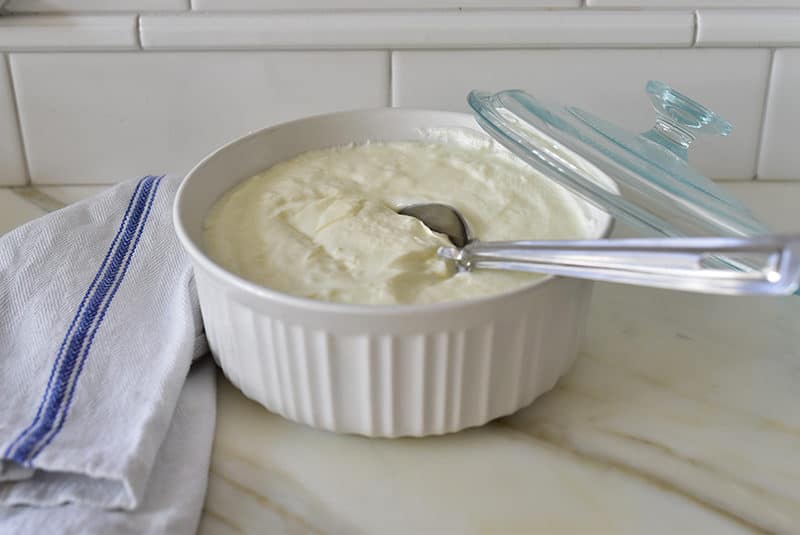
Ready to make your own yogurt at home?! It couldn’t be simpler. There are great reasons to make your own yogurt–it’s economical, and also: so much more flavorful than commercial yogurts. No special equipment is necessary such as a yogurt maker or slow cooker. Your own pot works perfectly.
Yogurt, or Lebanese laban, is a tradition we cherish. Use yogurt on its own with honey or fruit, as well as in soups, baking, salads, dips, and much more. Here are the basics.
Table of Contents
Just two Ingredients for homemade yogurt:
1. Milk.
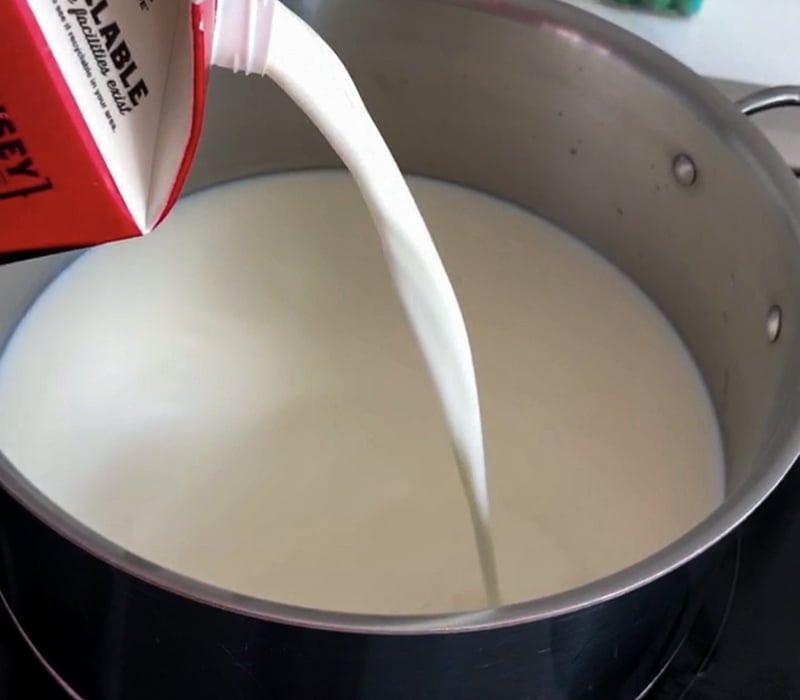
I always use organic milk, because anything I eat that much of, I like it to be as clean as possible. This homemade yogurt recipe can be made with skim, 1%, 2%, or whole milk. Of course, whole milk is the best in terms of flavor and texture. I’ve even been known to take a page out of Aunt Hilda’s playbook and poured in a pint of heavy cream with my milk. Good Lord, that’s like the wedding gown of all laban—some seriously thick and creamy, luscious, special-occasion loveliness.
Sometimes I make yogurt using a whole gallon of milk, especially if I’m draining it for thick labneh. That draining process reduces the quantity substantially! But I especially enjoy smaller-batch. Read about my laban-making foibles here.
2. The Starter.
Yogurt is made like sourdough, with a starter—called “rawbi” in Arabic—from your last batch. If you have no last batch, use plain yogurt with live yogurt cultures from the store. Much of your yogurt-making success depends upon the starter. If you do buy commercial yogurt as a starter, be sure it’s plain (not vanilla). I generally use a whole milk (not non-fat) starter, even if I’m making a low-fat yogurt with low-fat milk. Thick labneh (labna or labne) or plain Greek yogurt with a thicker texture can work for the starter, but I’ve experienced failures with that so I tend to stick with regular, plain unstrained (thinner) yogurt.
The starter should be at room temperature when it’s stirred into the milk, so let it sit out for a while before you make your yogurt, or warm it in the microwave for a few seconds. You’ll “temper” the starter (bring it to a similar temperature as the milk) with a little warm milk from the pot as well.
Also: don’t use much starter! That may not feel intuitive–seems like “more” should equal “better.” But you need just a couple of tablespoons (up to 1/4 cup) for a half-gallon to a gallon of milk.
It may be lore, but the less I stir the starter into my heated-then-cooled-to-110°F milk, the smoother, glossier the resulting yogurt. So I just give the starter a quick stir into the milk and leave it at that.
Some recipes include milk powder with the milk from the start of the recipe, as a way to create a thicker end result. I have tested this but don’t find much difference using it.
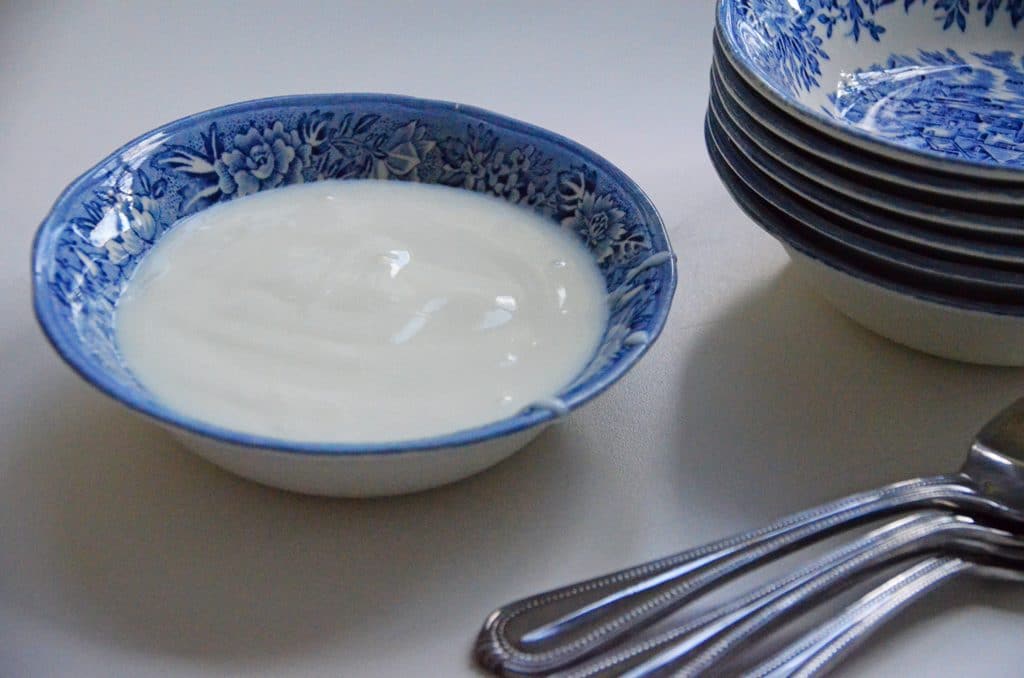
How to Make Homemade Yogurt
The steps for making yogurt are very few and very simple, but there are special tips and tricks to keep in mind with each step:
- In a large, heavy-bottom pot, bring the milk just to a boil (or 210 degrees F) OVER MEDIUM-LOW HEAT. The low heat takes longer to get to a boil, but this low-and-slow method helps prevent the milk from burning on the bottom of the pan. Milk burns easily! If your milk is room temperature rather than cold straight from the refrigerator, the heat time will be much shorter.
- Once the milk foams up to a boil, remove it from the heat immediately. Take care here! Milk will boil over quickly once it reaches the boiling point. Stand by, and as you see the milk rise, pull the pot off the heat. Now allow the milk to cool down to 110-115 degrees F. Use a thermometer or the pinkie test like Sitto taught me: when you can just barely run your pinkie through the milk to the count of ten without pulling it out from the heat, you’re there.
- Add the starter. I like to temper the starter by spooning a little of the warmed milk into it just before adding it to the pot. Just give the pot of milk with the starter a quick stir, cover the pot with the lid, and place in a warm spot to rest and incubate for 8 hours. Jiggle the pot to see if the yogurt has solidified at this point. If yes, you’ve done it! You’ve made yogurt! If the yogurt is still liquid, put the lid on the pot and allow it to incubate for another 4-8 hours.
How to get great flavor in homemade yogurt.
Yogurt is made with such simplicity, and so few ingredients, that it is going to taste only as good as your ingredients. The Lebanese enjoy their yogurt with a certain tang, a certain depth of fermented flavor that is unlike the typical sweetened or even unsweetened plain commercial yogurt. Commercial Greek yogurts sometimes capture this flavor, but truly not quite.
When my homemade yogurt lacks depth of flavor, I add lemon juice to the starter (just a squeeze), then salt it a bit and leave it out on the counter for the day. This allows the starter yogurt to ferment. Taste your starter and know that this will be the finished flavor of your homemade yogurt. If when I taste my finished yogurt the flavor is lackluster, I add lemon juice for more tang, as needed, and salt.
Ideally, the key is to find a starter that has better flavor. Get a few tablespoons from a friend who makes great homemade yogurt. The Lebanese have been sharing starters with each other forever! Our neighborly expression is not “can I borrow a cup of sugar,” but rather: “can I borrow a cup of starter?!”
Another option is to purchase good tasting yogurt at a Middle Eastern market. Often these places make their own yogurt with that complex flavor we love.
Authentic Lebanese laban is often made with goat’s milk, which is super flavorful, rich, and good!
See how it’s done! Watch my video tutorial.
Favorite Recipes with Yogurt
Koosa in Yogurt Sauce is a traditional stuffed squash that is poached in yogurt broth.
Kibbeh in Yogurt Sauce is similar to kousa in yogurt but uses shaped kibbeh balls rather than stuffed squash, in the yogurt broth with lots of mint and garlic.
Yogurt Cucumber Salad with Mint is a cool, refreshing salad that pairs with many main dishes.
Lebanese Sfouf Cake is a favorite Lebanese cake with anise flavor and a moist crumb because of the yogurt in the batter.
Baking with Yogurt is a great way to impart tenderness and moisture to baked goods, even with my Pita Bread Recipe.
Homemade Yogurt
Ingredients
- 1/2 gallon milk (skim, 1%, 2%, or ideally, whole organic milk)
- 1/4 cup yogurt (plain yogurt with live active cultures; ideally whole milk), room temperature
Instructions
- First, heat the milk: Rinse a large heavy saucepan (3-quart or larger) with cool water. Add the milk. Bring the milk to just below a boil (210 degrees) at medium low heat, about 15 minutes. Stay nearby, because the milk will froth up and as it begins to boil it will rise up swiftly in the pan. Remove from the heat immediately.
- Next, cool the milk: Allow the milk in the pan cool down to 110-115 degrees, stirring occasionally. If you are not using a thermometer, the equivalent is when your pinkie can just withstand being swirled in the milk for ten seconds. Arriving at this temperature can take an hour. If the milk cools below 110 degrees, gently warm it up to 110-115 degrees. If in this process of reheating, the temperature goes above 115 degrees, wait again until it comes back down to 110-115.
- Add the starter. Spoon a few tablespoons of the milk at this temperature into the yogurt (rawbi) starter, then stir that starter yogurt into the milk. You will notice a skin forms on the surface of the milk; that can be stirred right in with the starter, or spooned out.
- Incubate the mixture. Cover the pot with a lid and lay a kitchen towel over that to promote warmth. Set the pan aside, undisturbed, in a warm spot for anywhere from 8 to 10 hours, or overnight. An ideal incubator is the oven, turned off (the oven can be heated on the lowest setting for a minute before placing the pan in, just to encourage warmth, but be sure to turn it off immediately).
- Chill the yogurt: Remove the pot from the oven. The milk will have thickened into yogurt. Place, undisturbed as of yet, into the refrigerator for 1-3 days to further set the yogurt before eating or straining to thicken.
Video

Nutrition
Nutrition information is automatically calculated, so should only be used as an approximation.




Thank You for your wonderful Pinterest boards! I have found so many good recipes. I was wondering if you knew how to make lactose-free Laban? I have a very significant lactose Intollerant problem and find that I can’t eat the regular Laban anymore. I have tried to eat Lebneh, but I still have digestive problems eating it…even though they say it’s okay for people with lactose intolerance. I found a product by FAGE that is lactose-free and it’s the only brand that I can consume safely. Unfortunately, it’s so expensive! I thought I would try to make it myself. However, my attempts have failed thus far. Can you give me any suggestions? Thanks so much. Tracy
Thank you Tracy, so much! I’m very curious about your idea for lactose free laban. I’m going to try it with lactose free milk and see what’s possible. More to follow!
Uh oh,,,about a month ago I found your recipe and made it to the letter. Pulled the starter out first then proceeded to drain (nut milk bag set in pan that has the steamer set in pan an loosely fitted lid because of bag) missing the “letter” of recipe to ferment then strain! It still came out quite good. Of course my only experience was from straining commercial yogurt bought on sale and not the thickness I prefer. It def was mild but for my purposes it was fine. During the first making I read the great comment thread here and found the one that used the microwave! Since it’s getting hot here in Southern California I thought I would try it. Between the two makings I got into a Reddit or Quora thread and the failure rate astonished me as well as put a unwelcome level of doubt on my already huge success (lol the one attempt) those people are in great need of your expertise Maureen. As planned I tried the microwave method which thankfully I had taken a screenshot of, because I couldn’t find it to leave a reply for the poster due to saving not just my energy but the electricity, both cooktop and the extra AC! I’m on my third batch of said technique and I’m thing you should add this to your optional directions. After seeing for yourself of course. The starter being the main reason for taste the method should not be an issue. Stitto may have scoffed but once tried she would probably see the advantage of not have scalded milk everywhere or on skin (first time out was a whole gallon and a bit scary when it began to boil) plus the handling for less abled of us over a certain age might be a safer option. This batch used same starter from first and goofed on the amount but so far it looks good. Now it is in the fridge for a few days and then we’ll see. Also going whip in stand mixer after straining because I am a texture person. Those poor folks that failed also did not know about starting over with same milk and threw their batch’s away! They need your help! :))
This is so great!! Thank you for your details and I look forward to trying the microwave method myself (agreed, Sitto loved any simplification that worked!).
Great! I am going to try making it
Wonderful!
I’ve made this three time. All three times it came out perfect. I had hit or miss results with other recipes, but for some reason, even so simple, this has been the most delicious and most consistent results.
I love the pinky test for 10 seconds. Simple, and right on!
Claudia thank you! Sometimes the simplest is the best! And nothing beats homemade yogurt.
Thank you Maureen,
First time i have ever made Yoghurt and it will not be the last,it was just Lovely.
Pandelis that is so great to hear! Homemade yogurt is the best. Thank you!
Hello how long does this yogurt last up to once in the fridge ?
Hello! The yogurt will stay nice for up to two weeks and sometimes longer, in an airtight container.
At what point in this recipe, can you add fruits and honey? I like to doctor Mina, but I never know when the right time is..
Hi Saphhire, I think it’s best to add fruit after you make the yogurt since it will reduce how long the yogurt stays good in the refrigerator–it’s a little different than the way commercial fruit yogurt is made. You can stir in the honey after you incubate and before you chill the yogurt.
Can you add vanilla or fruit the the recipe? If so what would be the best time to add? Thanks!
Darby, it’s a good question. You can, but it shortens the time the yogurt stays good since it should be eaten within a few days if there is fruit added. If you add fruit you can do that before incubating. I add fruit when I serve the yogurt instead. Vanilla on the other hand could be stirred in before incubating or after.
Why does my yogurt curdle sometimes when I am making it?
Hi Carol, this can be due to all kinds of varied conditions in the kitchen that affect fermentation. I do think the starter as it ages and gets re-used, gets stronger and can prevent some issues like curdling.
hi, my yogurt did not thicken after a night in the oven, so I left it on top of the cooktop for another 12-16 hours and it did thicken up a little, I then refrigerated it! But now I’m concerned I left it out of refrigeration to long? thank you
Hi June, the yogurt will be found left on the counter for a day as it sounds like it did indeed turn into yogurt. How is the flavor? If it tastes fresh and did thicken, sounds like yogurt to me!!
I have been making my own yogurt for several years, but using a slightly different method. Your method sounded easier and it was and it WORKED! Perfectly. Thank you.
P.S. I love your mint salt
Thanks so much Carol!!! The mint salt is delicious stirred into the yogurt!!
So beautifully simple
I’m going to give it a go
Many thanks
Bert
Wonderful, and I love how you describe it, beautifully simple.
My yogurt is still like liquid after 3 days. What could I have done wrong and how can I fix it. I’m hoping to save it.
Hi Linda, I’m sorry your yogurt didn’t “take.” It’s very hard to know what went wrong; sometimes, even if you follow the method to the letter, there are conditions that can prevent the milk from becoming yogurt. This can be due to the starter used or other atmospheric conditions in your kitchen and oven.
Could this happen due to ultra pasteurized milk? I have heard of something similar with cheese.
It’s possible but I have had success even with ultra pasteurized milk.
I use a double boiler to heat the milk. It avoids scorching on the bottom and milk boil over. Once the milk is heated, I put the pot of boiling water into the oven to warm it before incubating the yogurt.
What a nice idea Pat, I’ll have to try it!!
Hello,
The organic milks from supermarket are usually ultra pasteurized which I understand you should not use for yogurt making.
There is a pasteurized organic option. Is that what works for you?
I’d like to know what you have to say on this subject.
I live in New Jersey and raw unpasteurized milk is not available. It my understanding from reading that the latter makes a great
Thank you!
Great point and question. Some say that you can make yogurt without boiling it if you use ultra-pasteurized. Hmm. I find that questionable and haven’t tried it. I Use pasteurized organic milk but have made yogurt with standard (not organic) many times. No doubt raw milk yogurt has incredible flavor but the raw milk as you note is not widely available.
Maureen: Your tutorial on making laban was great. I have tried a few times,, remembering how my Mom made it: using the oven pilot light to cure it. Also my Mom would do it her way, you know, finger touch, a “rawbe” handed down from two generations or more. The family use to pass it around like it was last one left in the world. You have spurred me on to give it a try. I will report back. Just as a passing note: The kitchen when I was a kid, now 81, was the place: Mom, Sisters, etc. making food to die for. I learned and honed my skills from them. The aroma was captivating. It is such a wonderful hobby for me.
George that kitchen! Heaven! Beautiful legacy and I’m glad you’re going to make some yogurt, as much for the memories as for the wonderful results! Keep us posted!
I am curious what you think of the slow-cooker/crockpot method. Does it create the same outcome?
Katie, the slow cooker can work! The advantage is that you don’t have to move your pot from the stove to the oven or some other warm spot for incubating. Otherwise it’s the same amount of work (which isn’t much anyway!) and time.
I have never had success with 2%, or 1 % milk. My family (Midfle Eastern, as well), only used whole milk Said you needed commercisl equipment to get the other to set. What advice for using other than whole milk? Thank you.
I have not had problems with lower fat milk other than it’s not as flavorful or quite as thick as whole milk yogurt. I have tested adding some milk powder as that is recommended as a thickening element to lower fat yogurt. It didn’t do much! Perhaps more of it would do the trick.
Hi Maureen— I’ve been making your Laban recipe but I’m wondering how long will it last in the refrigerator for a starter? Thank you for the recipe!! I haven’t had such a good tasting one since my Tita passed years ago!!
Staci this is so great! That starter lasts a good 2-3 weeks. I go by the scent and flavor, making sure I like that before using a starter since that is the flavor the new yogurt will have.
Unfortunately this Recipe does not work with the best Milk for you which is taken from goats and not cows
I make yogurt with either 2 litres of 18% cream
OR
1 litre of 10% plus 1 litre 35% cream to = 22.5% cream
Oh, so unbelievably luscious! Yum! Yum! I always prepare 2 litres at a time!
No need for milk!
I love it!
I use the Instant Pot Duo Plus model, it sterilizes the pot, pasteurizes the cream and ferments the cream. I use Dr. William Davis’s probiotics L. Reuteri, L. GASSERI, and B. Coagulans as my starter and ferment at 100 F for 36:00 hours.
This product cannot be specifically called yogurt due to the different live bacteria…
But it can be strained into the best keto high fat labneh ever…. Just add salt and the finest olive oil money can buy and enjoy each bite slathered onto Zero carb egg white bread!
For the latest in gut and body health and gut biome!
GladysToronto, Canada
This all such great info Gladys, thank you for sharing. My aunt always used part cream and it is as you say, luscious!
To add depth, when adding lemon juice and salt to the rawbi , do you let the rawbi sit out on the counter for the day, or do you add it to the milk and let the milk sit out on the counter for the day?
You can let the rawbi ferment with the lemon but you can also just use it in the recipe immediately after adding lemon (adding the lemon rawbi to the milk that has been boiled then reduced to 110-115°F).
Wow lovely in
I’ve also learned that adding a little nonfat dry milk (2 Tbl per quart of milk) makes a thicker yogurt. The nonfat dry milk adds some protein, too, but I use it for the improved texture.
Thank you Janet, this is interesting and something I tried some time ago. I’m going to try again!
I have heard that you should add flour to your starter but your recipe doesn’t indicate that. Thoughts?
Fascinating! My guess is this is to thicken the yogurt. I wonder if the heat of the milk would take care of the raw flour flavor that you wouldn’t want in the yogurt. I have not heard of this before so if any of us try it, let’s use just a small batch in case it doesn’t work and doesn’t taste right!