This post may contain affiliate links. Please read our disclosure policy.
Homemade pita chips are simple to make and a great way to use up the last couple of loaves of pita bread! Baked, air fried, or fried, these chips are light, crispy, and perfect for serving with dips and fattoush salad.
If you’re anything like me, you keep pita chips on hand for snacking and for that weekly fattoush. They’re also a must-have for your mezze platter or charcuterie board and your favorite dip, such as Mediterranean 7 layer dip or classic hummus spread. Store-bought options can be good in a pinch, but homemade ones are so much better, and they’re surprisingly easy to make.
Baked, air fried, or fried, this classic recipe is my favorite way to use leftover pita bread. I’ll walk you through all the steps!
Are Pita Chips Healthy?
As far as chips go, I consider pita chips lighter than traditional potato chips, especially when baked or air fried instead of fried. All you need are three simple ingredients, and the recipe uses significantly less fat than other chips. Plus, you can easily control the amount of salt.
Ingredient Notes
Please be sure to scroll down to the recipe card below for the complete details!
- Pita bread – There are many kinds of pita out there: thick, thin, higher, and lower quality. Any type of pita will work. Thicker pita pockets yield thicker chips, which are great for scooping up dips. Thinner pita yields thinner chips, which are ideal for crushing into fattoush salad. Wheat pitas also work well for more fiber.
- Oil – I love using a neutral oil like expeller-pressed canola, avocado, or safflower, but extra virgin olive oil works well, too. You can make this with sunflower oil, coconut oil (melted), or whatever you have on hand.
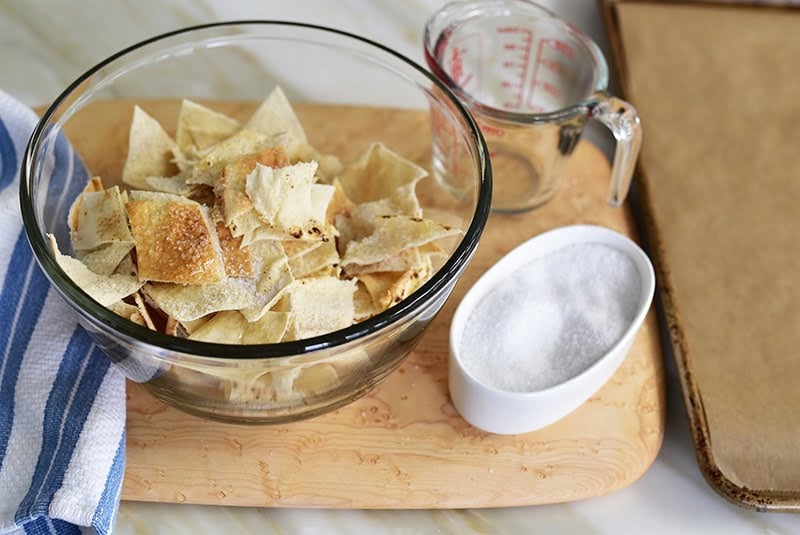
- Fine sea salt – One of the best things about this pita chips recipe is that you can use any salt or seasoning to flavor your chips. My simple go-to is fine sea salt because fine salt distributes better than coarse salt (like when you make stovetop popcorn!), but garlic powder, onion powder, toasted sesame seeds, and of course, my Lebanese za’atar seasoning are all great ways to flavor this addictive, crunchy snack.
How to Make Pita Chips from Pita Bread (3 Ways)
Baked pita chips and air fryer pita chips are great when you want to use less oil or need a larger batch (baked) or smaller batch (air fryer). Fried pita chips are the classic method (so very good!) and tend to be a little crispier, but all methods yield delicious pita chips!
Baked Pita Chips
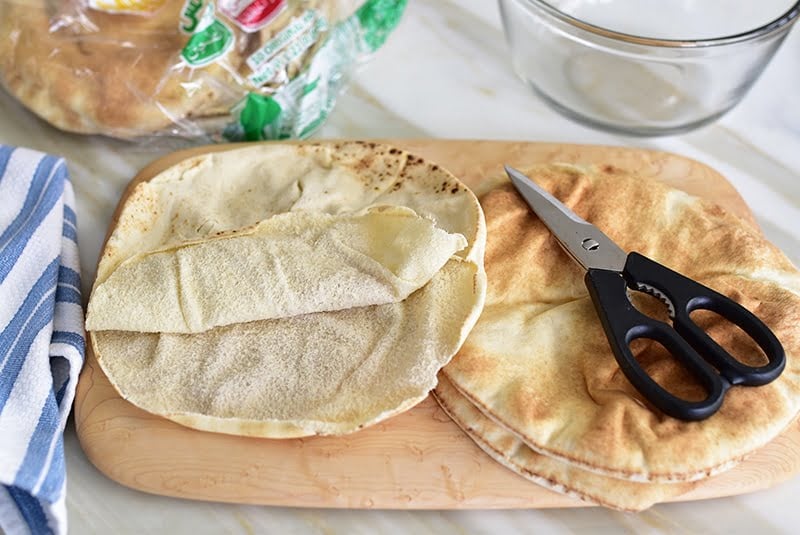
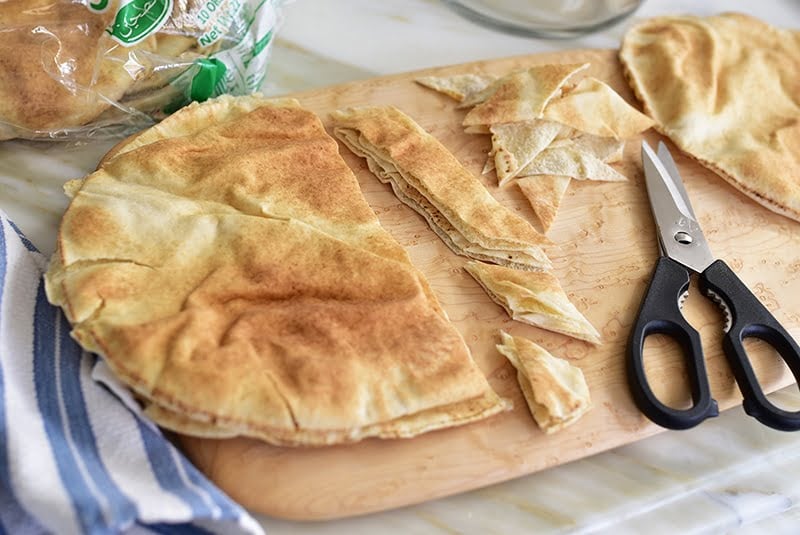
- Slice the bread. Open your pita bread, and pull the halves apart along the seams. Cut each half into 1-inch strips. Then, cut each strip into 2-inch pieces. You can also cut pita triangles or large rectangles.
- Season. Toss the bread with oil and salt in a large bowl. I like to use my hands to make sure the seasonings are distributed evenly.
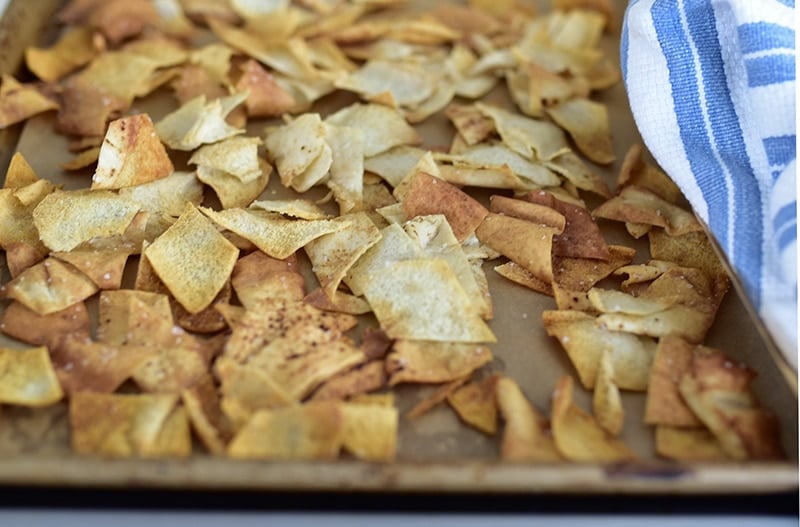
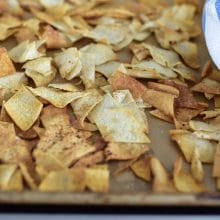
- Bake. Spread the pita chips in a single layer on a baking sheet lined with parchment paper, and bake until they’re golden brown, stirring and rotating the pan frequently. Adjust the cooking time as needed, depending on your oven and the thickness of your chips.
Air-Fried Pita Chips
- Slice and season. Follow the same steps as listed for baked pita chips, cutting up and seasoning the bread.
- Air fry. Preheat your air fryer to 375°F, and arrange the pita chips in an even layer in the basket. Work in batches if needed. Air fry until the pita chips are golden and crisp.
Fried Pita Chips
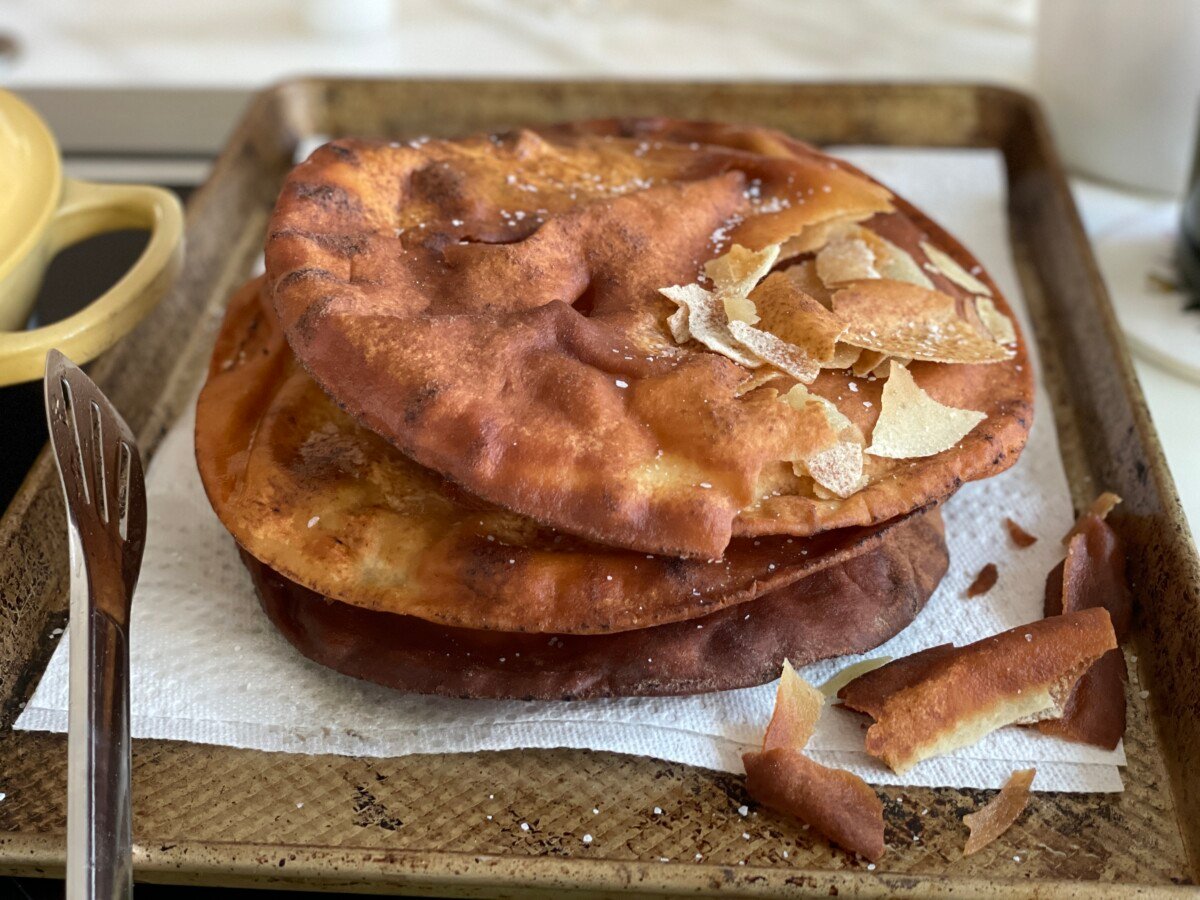
- Heat oil. Add oil to a large sauté pan, and warm it over medium heat. You’ll know the oil is ready when a small piece of bread bubbles up vigorously.
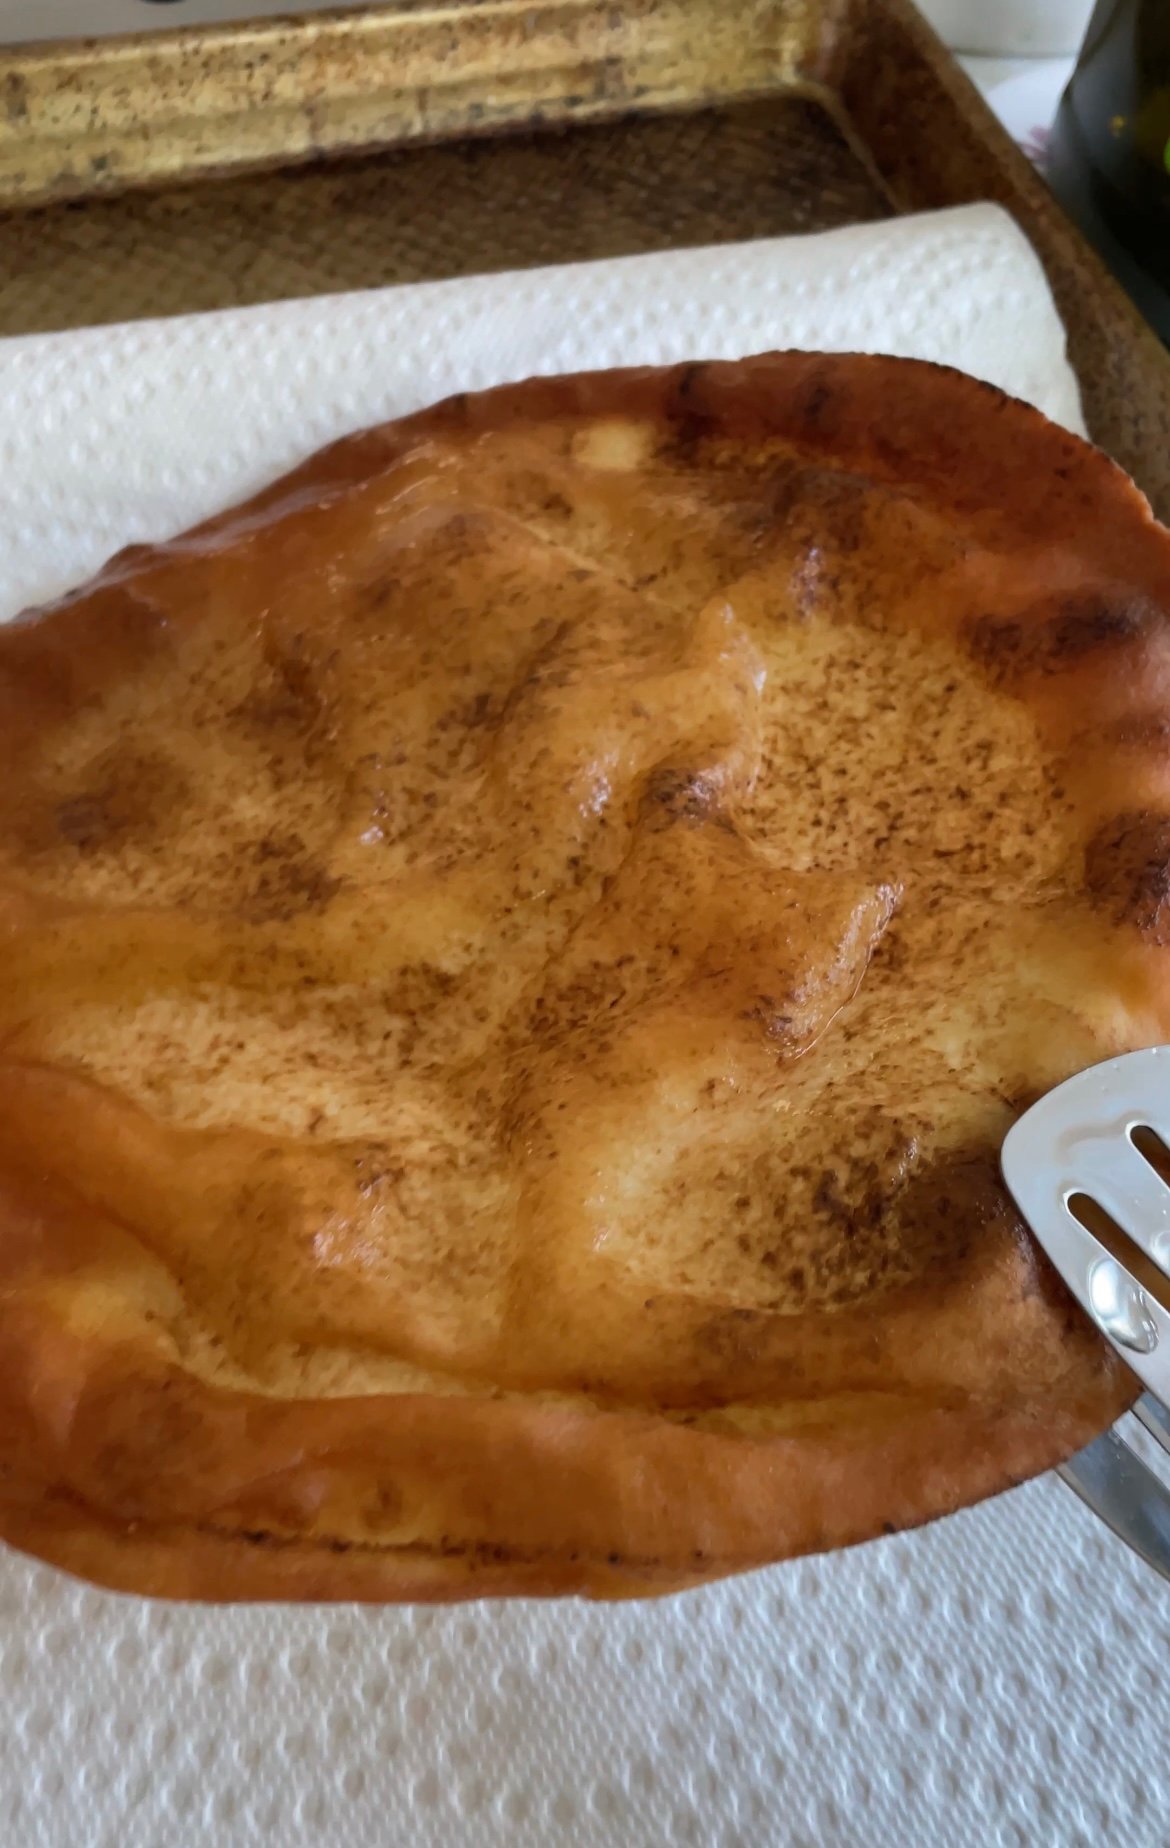
- Fry. If working with thin pita, fry the entire bread piece at once. Or, for thicker pita, split each piece in half and fry each round. You’ll know the bread is done when it’s lightly golden brown.
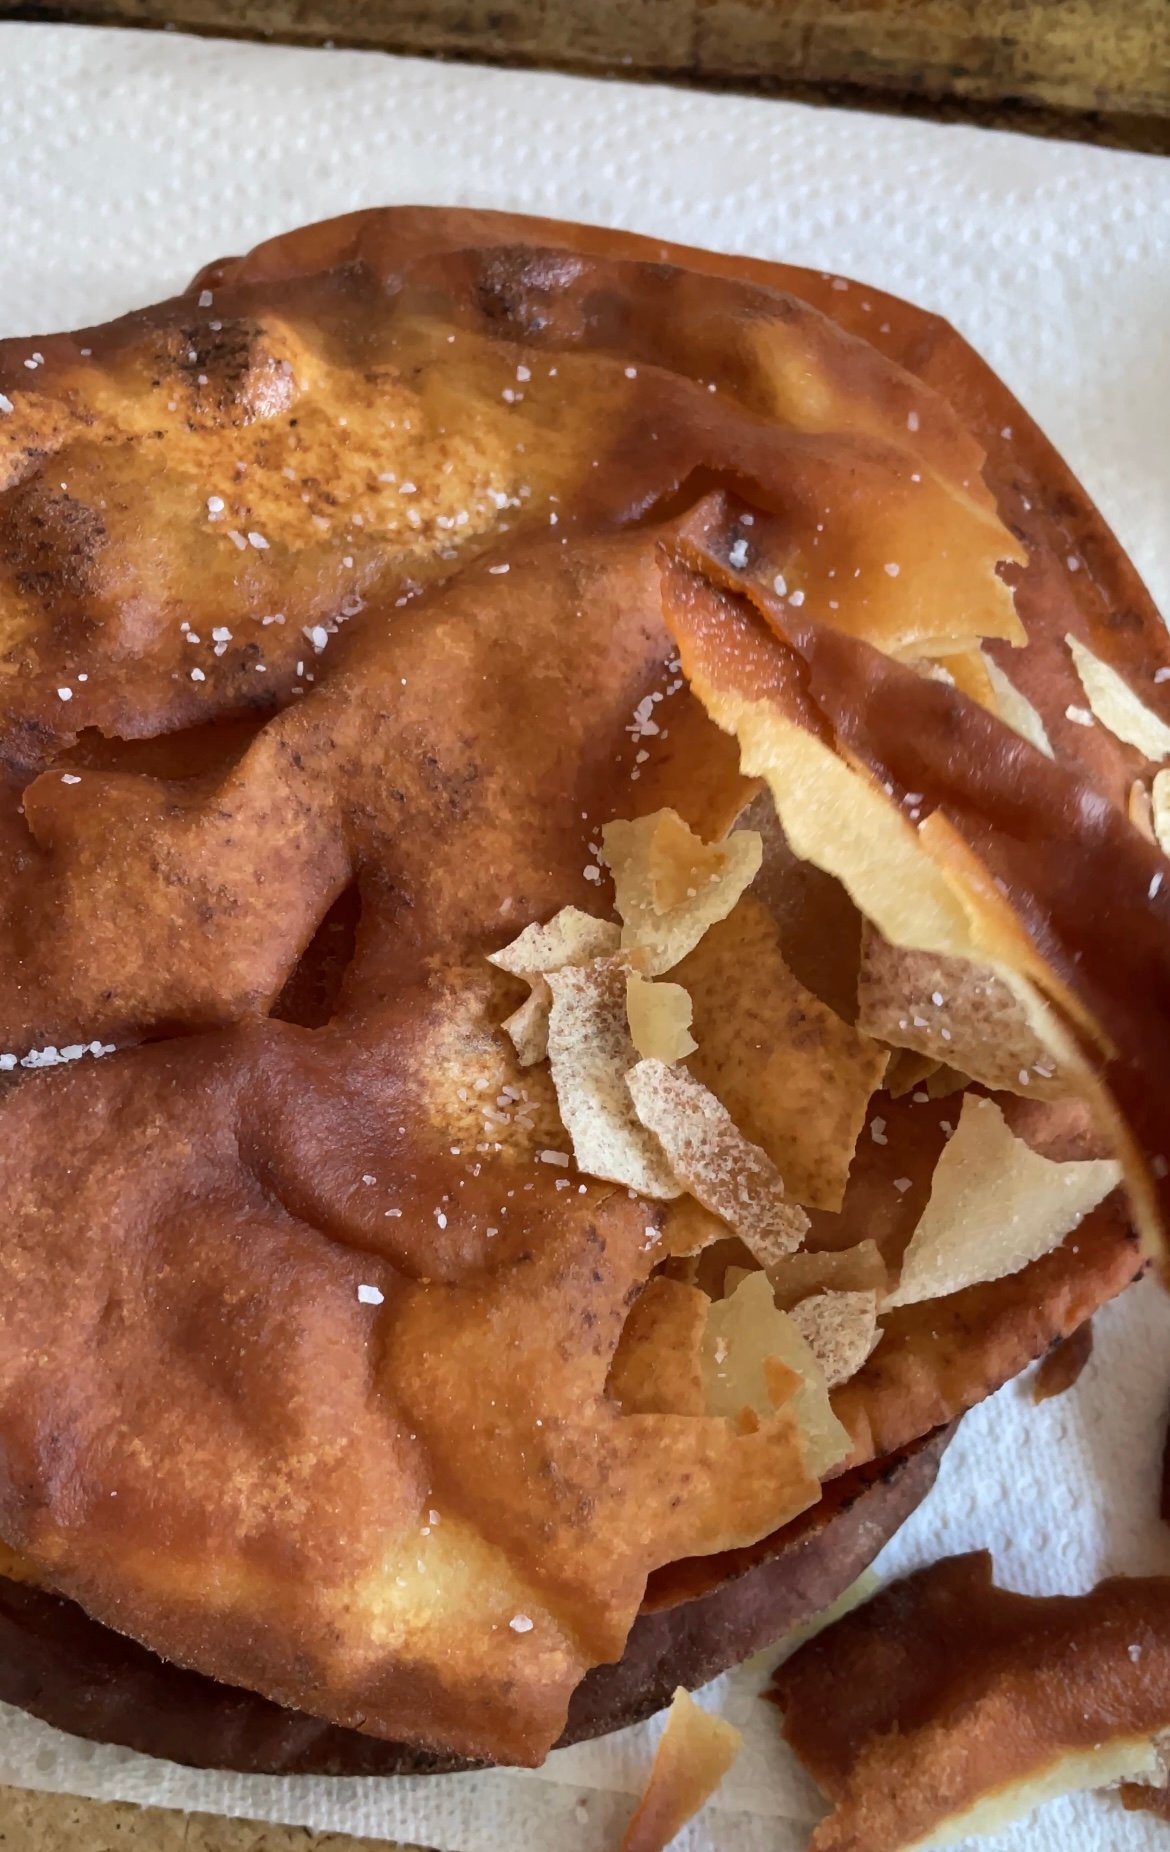
- Season. Transfer the fried bread to a paper towel-lined sheet pan, and add seasonings while warm.
- Serve. Cool completely, break the bread into chips, and enjoy!


My Top Tips
- Use slightly stale pita for extra crispiness. Day-old pita dries out slightly, which helps it bake or fry up lighter and crispier.
- Maintain oil temperature. Use a thermometer to ensure your oil reaches 350°F when frying and between batches. If it is too cool, the chips will absorb too much oil and become soggy. If it’s too hot, your chips will burn.
- Bake or fry in batches. Avoid overcrowding the sheet pan or sauté pan, working in batches to avoid overlapping chips, which will cook unevenly and are likely to become soggy.
Serving Suggestions
As mentioned, pita chips are essential in fattoush salad. However, I also love to pair them with olive hummus, beet hummus, muhammara, and baba ganoush.
Or, try adding your chips to a mezze platter, or use them in place of croutons with soups and salads. They also make for the perfect snack on their own!
Storage and Make-Ahead Options
You can store leftover pita chips at room temperature for up to 5 days. Make sure they’re in an airtight container, or any convenient resealable container, to keep crispy chips.
To prepare in advance, cut the pita bread up to 2 days ahead of time and store it in an airtight container at room temperature.
Pita Chips Recipe
Equipment
- 1 Baking Sheet
- 1 Large Bowl
- 1 Sauté Pan
- 1 Air Fryer
Ingredients
- Pita bread, thick or thin
- neutral oil, such as safflower or canola
- fine sea salt, to taste
Instructions
Baked Pita Chips:
- Preheat the oven to 375°F. Line a sheet pan with parchment paper.
- Open the pitas and pull the halves apart along the seams. Using kitchen shears, cut the pita into 1-inch strips. Cut the strips into 2-inch pieces.
- Toss the bread in a large bowl with the oil and about a teaspoon of fine sea salt. Use your hands to coat the bread evenly with the oil and salt. Taste and add more salt if you like.
- Spread the pieces of bread out on the prepared sheet pan and bake them until they are light golden brown, stirring a few times and rotating the pan, about 10 minutes for thin pita and up to 15 minutes for thicker pita.
Fried Pita Chips:
- In a large sauté pan, heat the oil to 350°F. The oilis ready when a small piece of bread placed in it bubbles up vigorously.
- For thinner pita, fry the whole pita at once. For thicker pita, split the pita open and separate the pocket into to rounds.
- Place the pita carefully in the hot oil. It will bubble vigorously. Use long tongs to turn the pita over when it starts to turn golden brown. Fry briefly until golden, then remove to drain on a paper towel-lined sheet pan. Take care as not to burn the pita as you fry; they turn golden quickly.
- Salt the fried pita immediately. Break the pita into chips before using.
Air Fried Pita Chips:
- Preheat your air fryer to 375°F.
- Open the pitas and pull the halves apart along the seams. Using kitchen shears, cut the pita into 1-inch strips. Cut the strips into 2-inch pieces.
- Toss the bread in a large bowl with the oil and about a teaspoon of fine sea salt. Use your hands to coat the bread evenly with the oil and salt. Taste and add more salt if you like.
- Arrange the pita chips in an even layer in the air fryer basket. Work in batches if needed!
- Air fry until the pita pieces are golden and crisp, flipping halfway through, about 10 minutes.
Video
Notes
- Nutrition information will vary based on the method used.
- Storage: Once cool, store leftover pita chips at room temperature for up to 5 days.
Nutrition
Nutrition information is automatically calculated, so should only be used as an approximation.
More Pita Recipes


So easy to make and tastes great. What a great TV snack that is much healthier than most other snacks.
Amazing how easy it is to make your own pita chips and how delicious they are! Let’s watch something great with a bowl!
I love this recipe. I use it all the time and my friends ask where I bought my pita chips. LOL!
SO delicious and so nice to hear!!! Thank you!
Three years after this entry was posted I am making my own pita chips in Canada (alone in self-isolation in the time of COVID19) and I thoroughly enjoyed reading (or re-reading?) your little tribute to “cousin love”. It’s a gorgeous Sunday morning here with flowering trees and birdsong right outside my balcony, but I am transported to a weekend in Chicago where I got to share delicious eats, great conversation, laughter, and memories of our beloved Sitto. Ever grateful for precious moments with sisters and cousins! Be well and keeping writing Maureen.
Sarah! So special, thank you. I am so happy to connect with you in your kitchen in Canada over our dear cousin love….
Can I make this the day before I plan on serving it with your fattoush ? If so, how do I store it? Thanks!
Instead of shears try a pizza cutter– I have my girls cut up the pita for chips when ever I make Hummus
COUSINS! OUR REUNIONS WERE CALLED COUSINS BY THE DOZEN. SUCH FUN! SUCH MEMORIES! AND NOW, SO MANY ARE GONE. BUT CHERISHED MEMORIES REMAIN.