This post may contain affiliate links. Please read our disclosure policy.
Chocolate sugar cookies are a rich, crisp cookie that tastes great frosted or bare! They’re simple to make and cut into shapes perfectly.
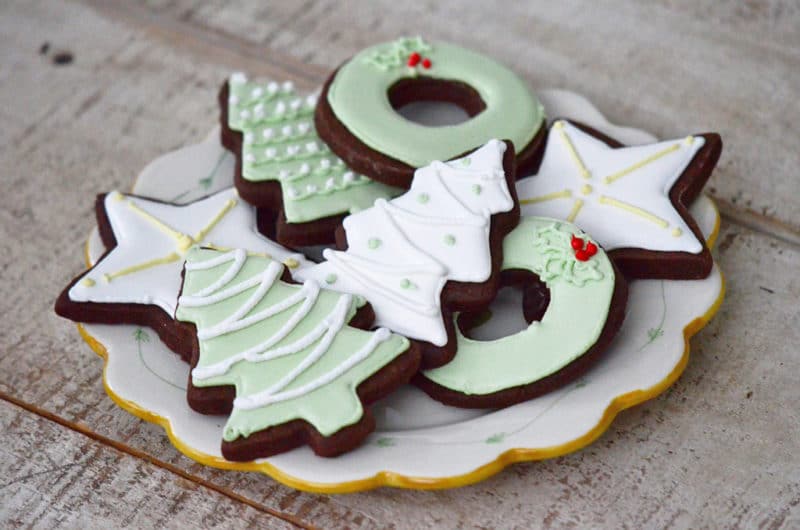
I had never really imagined a Christmas cut-out cookie in chocolate until last year at this time, when Cindy gave me a little bag of them. Instead of saving the cookies and taking them home to share, I ate every last deep-dark one while we chatted over a cup of tea. They were almost as good as her poetry. Recipe? I said. Yes! She said. Then a year later, when it came time for cut-out cookies again, my mailbox contained the recipe from Cindy. O joy.
I made them immediately and loved the flavor, but the shape was an issue. I wanted them to hold their shape perfectly, with razor-sharp edges that would be reminiscent of my other go-to cut-out cookie recipe. One that tastes wonderful and still takes well to decorating with royal icing.
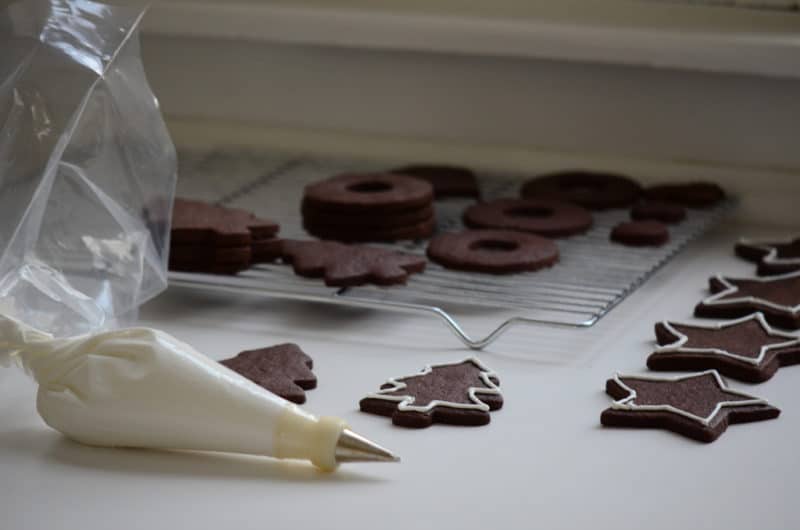
Royal icing may not impart the same buttery flavor that my mom’s vanilla butter frosting for Christmas cookies does, but the perfect way royal icing coats a cookie and becomes a canvas for piping is, for me, irresistible.
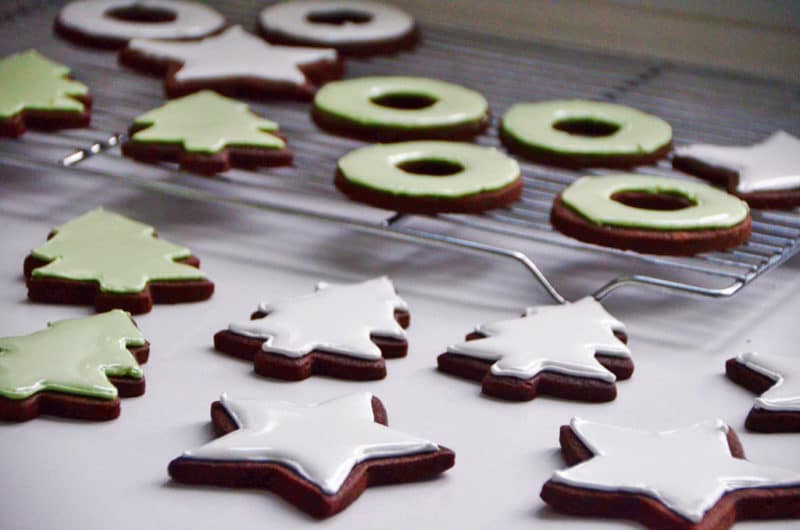
I first started going a little overboard with Christmas cookie decorating the year I was homebound from school with mono. I was 16 and spent about a month on the couch, in the midst of the gut rehab of our kitchen. I could not even look at food let alone eat it, so the non-functional kitchen didn’t bother me all that much. It was completed right around the time my mono-haze lifted, and my mom and I baked Christmas cookies galore, including Chocolate Crinkle cookies and cut-out cookies to celebrate (Heart Shaped cookies found their way in, too). I spent the better part of a day corralling tiny multi-colored sprinkles into lines that looked like lighted garland on the Christmas tree cookies. They were, I must say, gorgeous. You kind of hated to eat them (but you got over that). I wish I’d been taking food photos back then, for posterity.
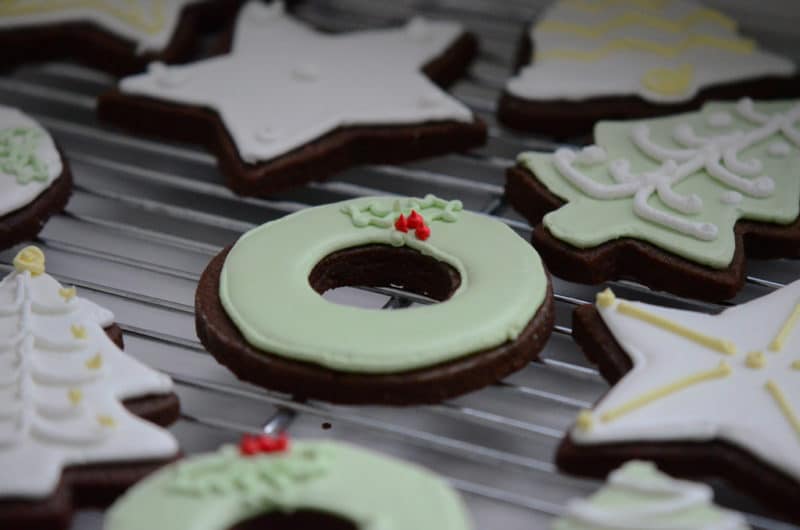
This year the nexus of all that is holiday nirvana in the kitchen came together for me with the marriage of the chocolate cut-out cookie and royal icing. I went on a search for a chocolate cookie that would impart dark chocolate flavor but still hold its shape, and I found it over at one of my favorite culinary blogs, Smitten Kitchen. Which in itself was serendipitous because just recently the author of that blog published her first book. And it landed on the New York Times bestseller list. That kind of success story makes me both crazy-frustrated (like Cindy Brady yelling out to all of the kids running ahead of her: “Hey! Wait for ME!”) and excited. Inspired. Encouraged to stay steady on my own book-writing path (more details to come).

Whether you want to go all out and ice your cookies with a piping bag, or stick with a basic cream cheese frosting or, even simpler, use some decorating sugar or powdered sugar or no icing at all (which is how Cindy presented hers), the chocolate cut-out is a revelation. They are unexpected. They are beautiful. And yet, unlike most things that breed great success, they don’t take all that much hard work and finesse to come out a winner.

Chocolate Sugar Cookies
Ingredients
- 2/3 cup Dutch process cocoa powder
- 3 cups unbleached all-purpose flour
- 1/2 teaspoon kosher salt
- 1/2 teaspoon baking powder
- 1 cup salted butter, room temperature
- 1 1/2 cups granulated sugar
- 2 large eggs
- 1 teaspoon pure vanilla extract
Instructions
- In a large mixing bowl, whisk to combine the cocoa, flour, salt and baking powder. Set aside.
- In a stand mixer fitted with the paddle attachment, beat the butter until it is smooth. Add the granulated sugar and beat again until the mixture is light and fluffy, about 3 minutes. Add the eggs and vanilla and beat again until combined. Add half of the cocoa-flour mixture, beat on low to combine, then add the rest and beat again until combined. Stop and scrape down the bowl as needed.
- Turn the dough out onto the counter and divide in half. Wrap each half in plastic, shaping the dough into a flat disk. Chill for at least 1 hour and up to 2 days.
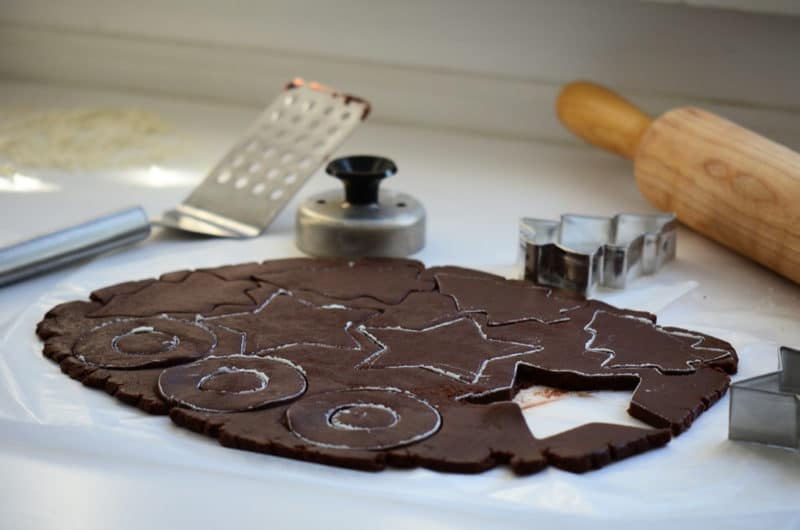
- Roll out one disk of the cookie dough between two sheets of waxed paper or parchment paper. For chilled dough that is still somewhat hard, allow it to rest at room temperature for a few minutes. Tape down the waxed paper to anchor it, and roll from the center out, evenly, until the dough is 1/4- to 1/8-inch thick. Chill the rolled dough in the waxed paper layers for 15 minutes.
- Arrange an oven rack in the middle position and preheat the oven to 350°F. Line 2 baking sheets with parchment paper.
- Remove the rolled dough from the refrigerator and peel back and discard the top layer of paper. Dip cutters in flour (or cocoa powder) before cutting out shapes (dip each time you cut).
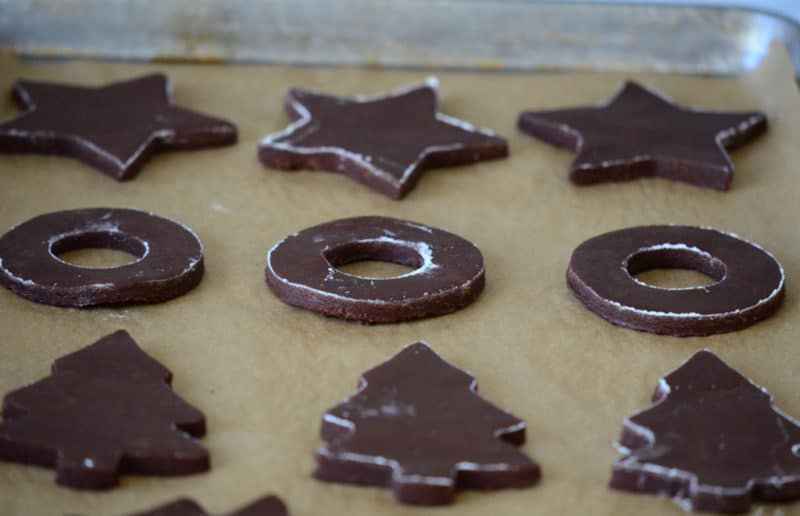
- Transfer the shapes to the prepared baking sheets with a metal spatula. Bake for 8 minutes for 1/8-inch thick cookies and 11 minutes for 1/4-inch cookies, or until the edges are firm and the centers are slightly soft and puffed.
- Press the dough scraps together and wrap in plastic. Chill and repeat the process, using fresh waxed paper each time you roll out a new batch.
- Transfer baked cookies to a wire rack to cool to room temperature. Frost or sift with confectioners' sugar.
Nutrition
Nutrition information is automatically calculated, so should only be used as an approximation.




Maureen- here I sit in Bishkek, Kyrgyzstan looking for a cut out cookie frosting recipe for my daughter’s class tomorrow and I come across your wonderful blog!! Glad to see you are doing so well! Cheers! Julie (Hocevar) Hamlin, SMC ’90, GO IRISH!! (What ARE the chances??)
Julie, that is just TOO cool and incredible!!! Thanks so much for taking a minute to write and share the good karma!! I hope the recipe was met with approval by your daughter and her class, too…
I’ve never seen chocolate frosted cookies for Christmas. Love how the frosting colors stand out against the chocolate. I’ve made chocolate heart shaped cookies for Valentine’s Day and dipped half of each cookie with pink or white frosting. The chocolate cookie recipe I have calls for cayenne pepper.
Just printed out this recipe and am on my way into the kitchen now to make them! Hoping mine look half as good as yours!!
Simply gorgeous, Maureen, you rock!!
Tlaz
Those are the prettiest cookies I have ever seen. I would wallpaper a room with them. Shellac them and hang them all over my Christmas tree. The green and brown and white combination is beautiful! I’m sorry it took me a year to send the recipe.
Janis & I will be making them next week when she comes “home for the holidays”. Thanks again, Maureen! Merry Christmas!!
You seem to make things that make my mouth water. Beautiful job on the cookies,and i never meet a cookie i didn’t like, i want some of those.