How to proof yeast
Nov 16, 2011, Updated Jan 02, 2015
This post may contain affiliate links. Please read our disclosure policy.
There was one aspect of culinary school that could, if you wanted, be compared to law school: every week officially, and every day casually, we were asked by our instructor Frances to recite what we knew about the various concepts and methods we were learning. There weren’t any torts, but there were tortes, along with types of classic breads, French cakes, mother sauces, petit sauces, anatomy of a pig or a cow…you get the picture.
Among the line-up of concepts was yeast and how it functions. “What does yeast need in order grow?” asked Frances. Warmth. Moisture. Food (in the form of sugar). The answer does not include salt, I can tell you first hand, so if you’re going to shout out “salt!” you should at least be uncertain about it and shout “salt?” instead. If you got the answer wrong, your penalty was simple but effective: your own personal humiliation. None of the concepts were terribly difficult to master; it’s just that there were so many all at once.
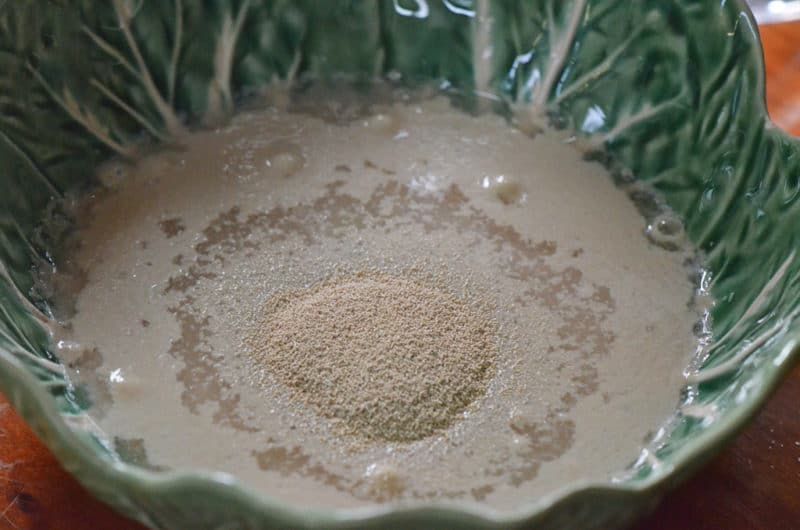
We used dry instant yeast at Tante Marie’s, which expedited processes but robbed us of the pleasure of proofing the yeast. The “proofing” is really about “proving” the yeast, which is a fungus whose mission in life is to grow. The moisture that gets the yeast going is warm water at about 80 degrees (you don’t have to measure the temperature; it should feel slightly warmer than lukewarm). Yeast is hungry, and like me, yeast loves sugar, so a little sugar added to the mix gives the yeast something good to eat.
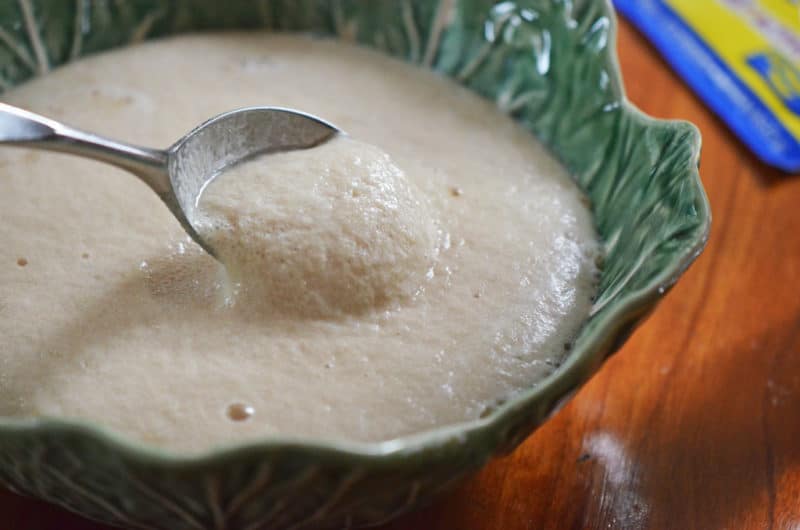
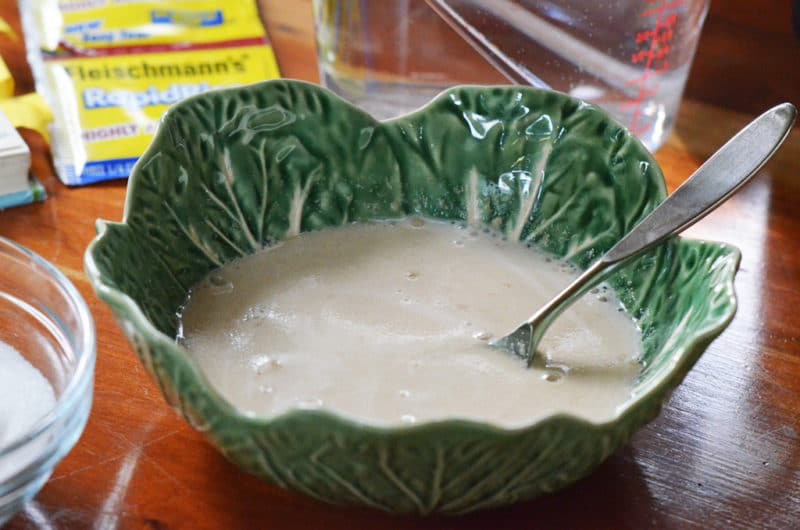
Stir the yeast with the water and sugar, dissolving the lumps. Then let the mixture rest for about 15 minutes, and enjoy the show. If the yeast is good, it will bubble and foam up. I’ve never proofed yeast that didn’t do its magic, but you’ll know if it’s not right. If it doesn’t foam up, that probably means your yeast was old (it does last long though, up to a year in the fridge or freezer), or your water was either too warm or too cool.
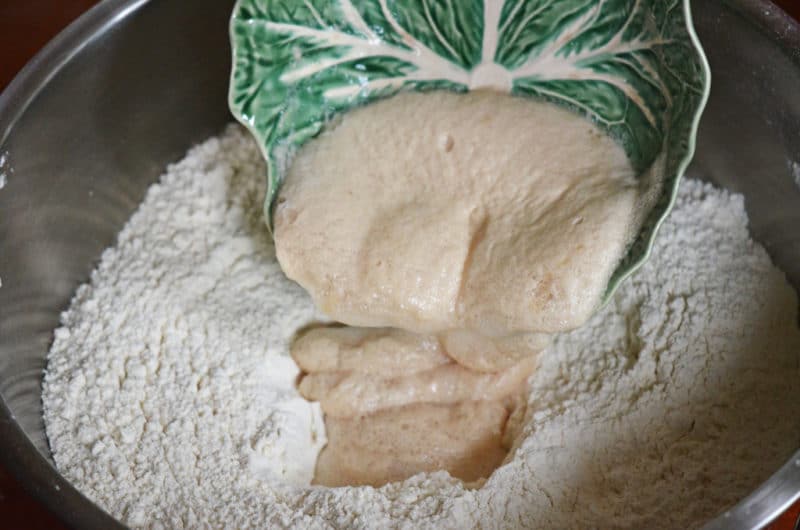
Yeast and salt have a big problem with each other, so you’ll always want to keep them apart. Disburse the salt in your flour very well before pouring the yeast into the mix.
Got your yeast on hand? Some fresh flour and canola oil? A few hours set aside (you can do it!) to give yourself and your family a little gift? Good. Get ready to enter Lebanese bread-baking heaven tomorrow right here.
And let me know—do you proof your yeast when you bake bread, or add it right in, dry?



I usually use some of the milk that’s going in rather than plain water. Always thought the milk gave it a little more food.
Hi Maureen — I am enjoying very much all of your postings — what a gift you are to your subscribers!!
I am sure you have heard of Dr. Oelker’s products — I believe he was the inventor of yeast or something — he puts out a yeast that can be added dry!! My friend, Pam Ogle, who I make Lebanese Easter cookies with every year, and I have tried it — we like it!! We never could get the hang of dissolving yeast.
I will definitely read the article more caarefully when time permits. I would be curious to know what you think of Dr. Oeker and his line of foods.
Emiline
Maureen — How is it that you can actually make yeast look and sound appetizing? Your presentation is amazing!