No roll tart crust
Apr 04, 2012, Updated Jan 02, 2015
This post may contain affiliate links. Please read our disclosure policy.
I always considered myself a pie and tart crust expert. I’ve been pumping out pies for years and have two favorite tarts, in addition to the lemon meringue we’re making this week, in my repertoire (a plum and a chocolate pecan—both of which will be yours one day). When we studied pâte brisée and pâte sucrée (savory and sweet crusts) at Tante Marie’s, I was ready to shine. Let’s just say that shine I did not, and I left school feeling like I still had my work cut out for me.
Then I learned a great technique for handling pâte sucrée (pronounced POT sue-KRAY) when I worked at Boulette’s Larder. I angled to get the crust recipe itself, but that was not to be. More on that tomorrow. The technique, however, is all ours, and we have a crust recipe that is darn good anyway.
Pâte sucrée is a buttery tart dough that contains sugar. Ours also includes almonds and an egg. The ingredients that make the crust so cookie-like and delicious also make the dough difficult to roll out, so we find a way around rolling by instead pushing the chilled dough in small pieces into a parchment-lined, removable bottom tart pan. Anyone who has ever avoided making tarts because of the rolling process will find this method welcomes them to a whole new world of tart-making.
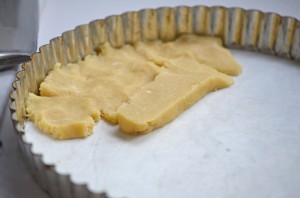
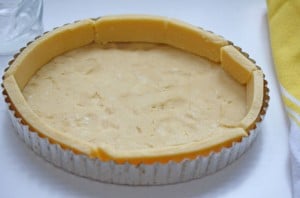
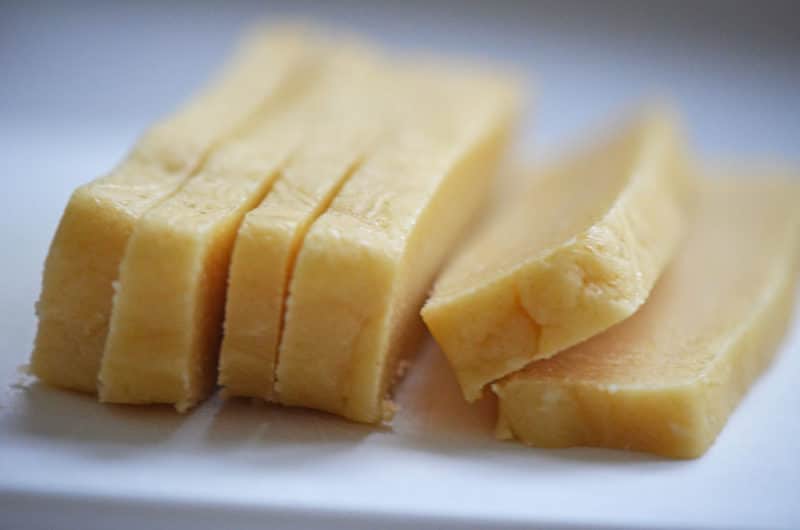
After the dough just barely comes together in a ball in the food processor or in a bowl by hand, it is shaped into a square about an inch thick, wrapped in plastic and refrigerated. Standard practice. Once fully chilled, the dough is cut in slices with a sharp chef’s knife. Far from standard practice. Then to form the bottom of the crust, the slices are pushed together like puzzle pieces into into the bottom of the tart pan, being sure all crevices are completely filled. The dough can be flattened nicely by pushing it down with the flat bottom of a broad glass.
The slices make a real difference when shaping the sides of the crust. One of the most challenging aspects of a push-in crust is getting the sides even. Simply lay the slices around the edge of the tart right up close to one another, then push all seams together so that the dough is completely seamless and tucked right up into the fluted edge.
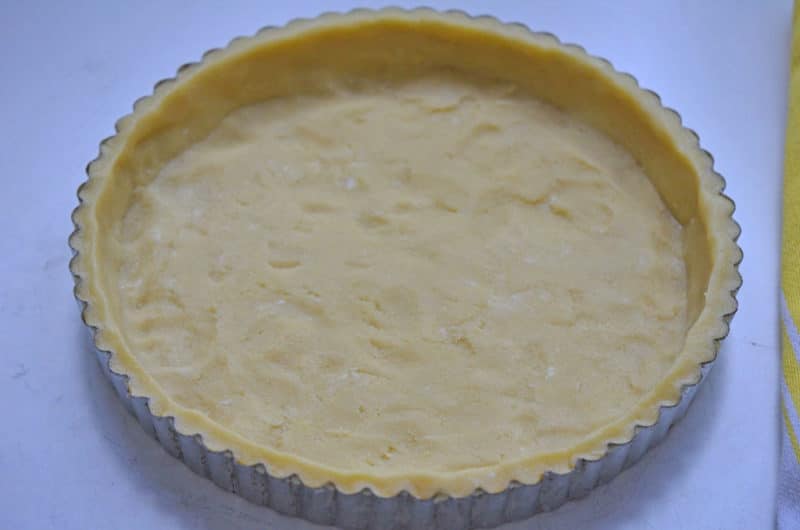
The crust is chilled again to let the gluten relax and to help the tart hold its shape when baked (not unlike our cut-out sugar cookies). Once it’s baked, the crust has puffed up a bit. Use the edge of a glass to flatten the dough all the way around the inside edge of the tart.
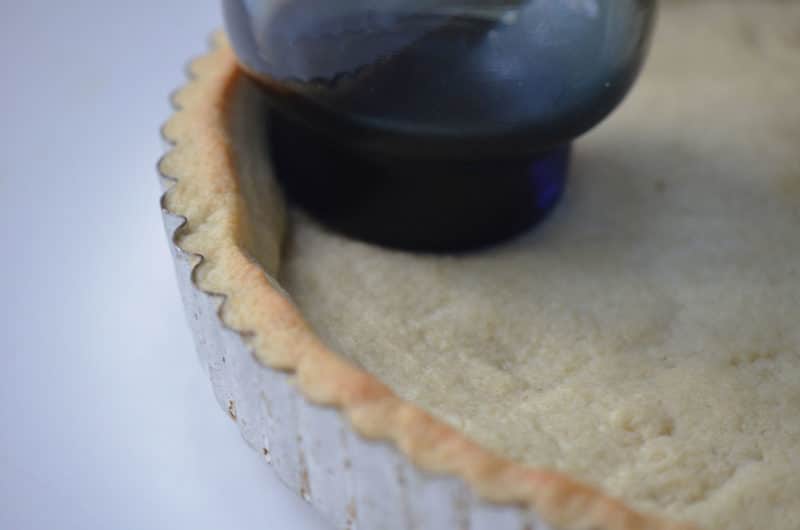
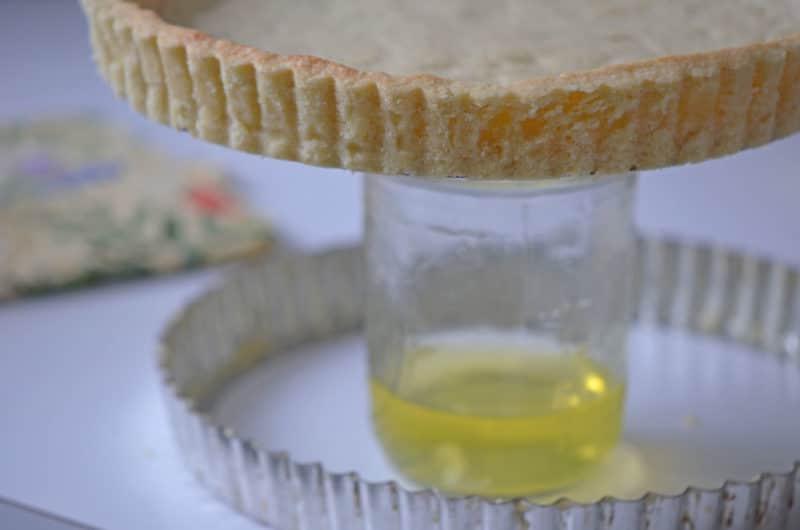
To remove the outer ring of the tart pan, set it over a jar and gently loosen the outer ring. The ring will fall to the counter and you can simply walk away with the tart. If you do all of this just with your two hands and no jar, you’ll end up with a tart ring hanging off your arm like a big bracelet.
Whew! We did it! I promise this is all worth it! Now we’re ready for tomorrow, when we’ll make a dessert that will knock your socks off: Lemon meringue tart extraordinaire.

