How to temper chocolate
Nov 29, 2012
This post may contain affiliate links. Please read our disclosure policy.
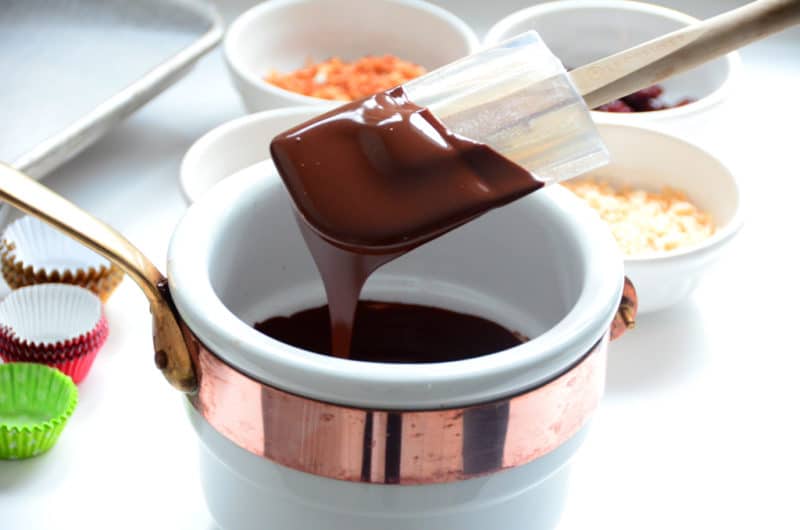
Here’s the thing about chocolate: it’s a little more complicated than it seems. The more I’ve come to understand it, the more I get that we two are kindred spirits.
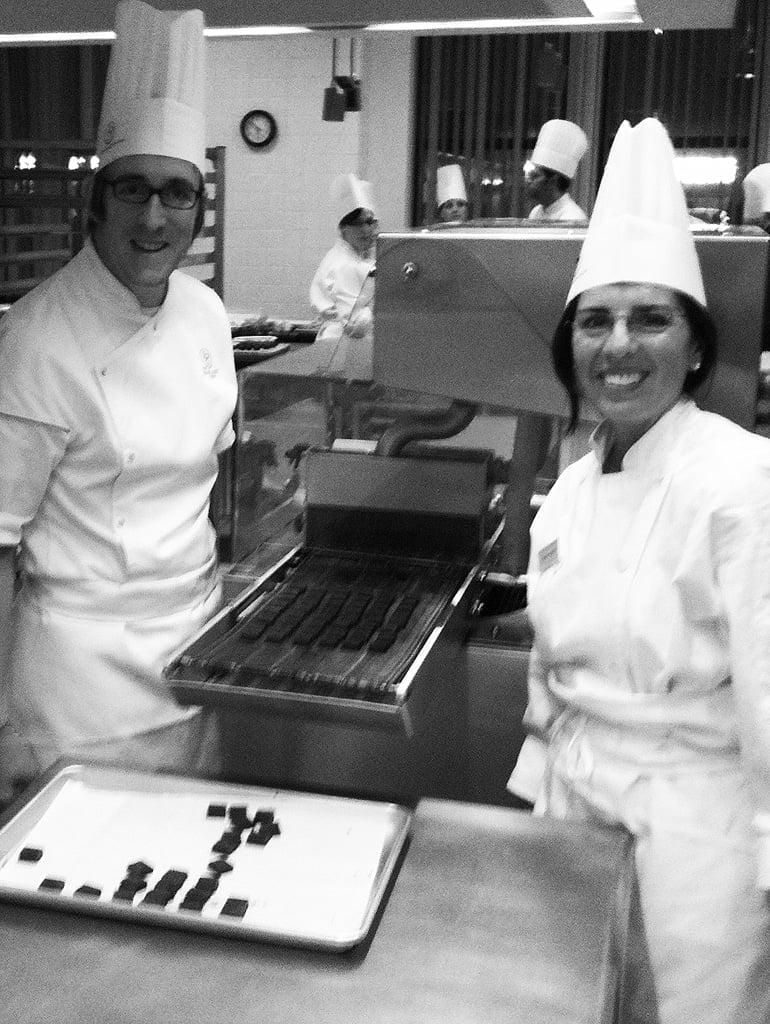
My chocolate-making teacher, Chef Bob Hartwig at the French Pastry School in Chicago, threw out so many stunning metaphors during the week I spent with him two years ago that I was writing as much as I was actually making the candy. I just wasn’t expecting that level of mind-play going in. I could write a book! I thought. I could start a blog! I thought. I could go to culinary school! I thought. My destinations came clearer. Chocolate became a kind of Sherpa to me that week, beckoning me to be not afraid, to come this way, to taste, to see.
Tempering chocolate offers us wisdom, but it comes so decently that, like any good advice that’s well-presented, we can actually hear it and take heart:
* Allow chocolate to teach you some patience. If while tempering, the chocolate goes lumpy, accept it and go back to tempering.
* It’s easier to get where you’re going if you know what your destination looks like. Look at chocolate you buy, which is tempered, before you begin. Test your melted, tempered chocolate on a little piece of parchment or waxed paper dipped in to see if it is tempered (it will dry quickly, shiny and snappy, which is what you want for your candy) before proceeding.
* You must suffer for your chocolate. The chocolate talks to us, and we have to learn its language.
*Chocolate, like life, is a broad playing field. Discover passion within your passion. And like us, chocolate can be tempered over and over again, until it is gone.
*Chocolate tempering is about balance, keeping everything in balance. My sister knew that when she gave me the chocolate-making class as a gift, something to look forward to and something fun to do during a rather dark year.
So. The science (never my favorite subject, but useful nonetheless):
If you want to melt chocolate down so that you can do something else with it, like enrobe a fresh raspberry, or dip any manner of nuts, toasted coconut (my personal favorite), or dried fruit, the chocolate needs special treatment; that is, tempering.
What’s the point? The molecules, or crystals, that form chocolate and give it its sheen and snap get out of whack when melted, so that when the chocolate dries in its newfound shape, if it isn’t tempered it won’t dry in a beautifully hard, shiny, snappy manner. If chocolate is just melted and not tempered it will instead dry only partially, remain soft and fudgy, and can produce a white, chalky bloom all over itself. The result of not tempering doesn’t preclude one from eating that candy; it is still going to taste good, it just isn’t pretty, must stay cold in the refrigerator to stay hard, and does not have shelf life.
To temper the chocolate, it will be slowly and gently melted, then cooled, then slightly heated back up again. That’s it in a nutshell. There are a few methods to get there; this one is the “seeding” method, where 2/3 of the chocolate is melted and 1/3 reserved and used to cool it down. An instant-read thermometer takes the guess-work out (pros just use their bottom lip to test the temperature of dabs of chocolate as they go).
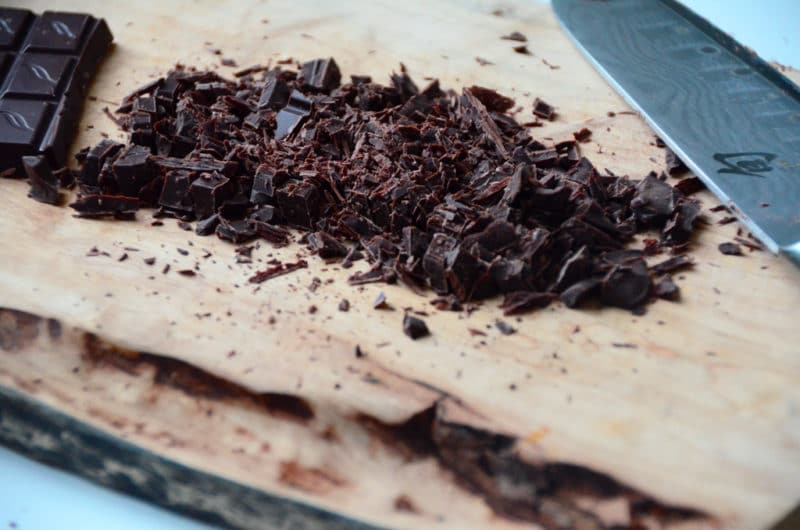
Melt the chocolate. This can be done in a double boiler, or in the microwave. Or in a chocolate tempering machine that none of us has. Finely chop the chocolate from a bar or chunk, or use couverture chips (not regular chips used for cookies; couverture is low-moisture chocolate expressly for candy-making).
In the microwave: heat the chocolate in 12-second increments, stirring in between, again and again until the chocolate is melted to 110 degrees in an instant-read thermometer.
In a double boiler, heat an inch or so of water in the bottom of the double boiler. You can make a double boiler by fitting a metal bowl over a sauce pan (the bowl sits high, not deep down in the pan), being certain that the water in the sauce pan below does not touch the bowl. We’re steaming the bottom of the bowl. Place 2/3 of the chocolate in the bowl of the double boiler over low heat. The water should be barely simmering now, over low heat. Melt the chocolate very slowly, stirring occasionally with a heat-proof spatula, until just before it reaches 110 degrees on a chocolate or instant-read thermometer (it will continue to heat, so taking it off before it reaches temperature prevents it from getting too hot, which is important).
Cool the chocolate. Remove the bowl from microwave or the double boiler to begin to cool the chocolate. Wipe the bottom of the bowl right away, making sure that the water never comes into contact with the chocolate; the two are enemies and don’t mix. Add a handful of the remaining finely chopped chocolate or chips to the melted chocolate to “seed” the chocolate and assist in cooling it down (and realign the melted chocolate molecules). Be careful not to seed too much once the temp gets into the 80’s, or the seeds won’t melt and the chocolate may be too lumpy even after the warm up. Keep stirring constantly with the spatula to encourage cooling, and adding the chopped chocolate, taking the temperature until it reaches 84 degrees. This can take 20-30 minutes, which can seem lengthy the first time you do it. Or every time you do it. But it must be done.
Warm the chocolate and keep it warm. In the microwave, warm the chocolate again in 12-second increments, stirring at every interval to even out the chocolate and the temperature, until it reaches 89-90 degrees.
In a double boiler, place the bowl back on the double boiler and heat over low heat until the chocolate warms back up to 89-90 degrees. Remove the bowl from the double boiler, and work with the chocolate quickly while it is at this temperature. If the chocolate cools down too much, place it back in the microwave at 5-second intervals or on the double boiler and heat back to 89 degrees.
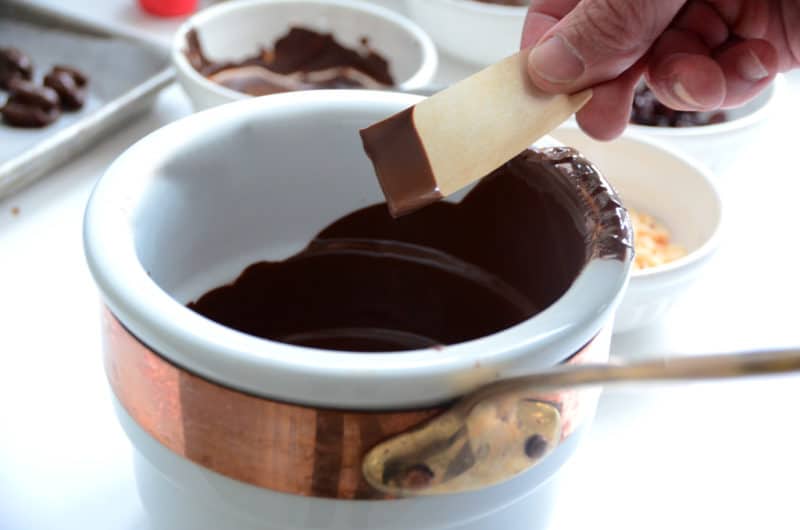
Dip in a little piece of parchment or waxed paper. Does the chocolate dry within a minute or two, shiny and hard? If not, take temperature and either warm or cool the chocolate. If so, you’re ready to roll.
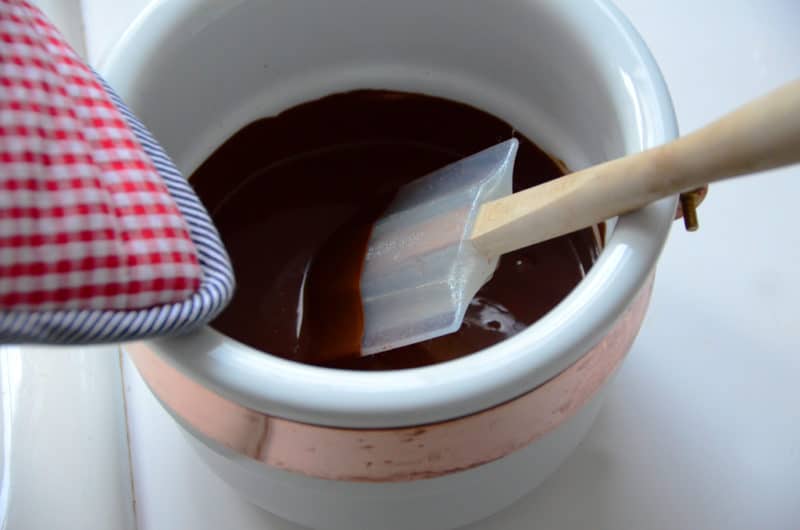
Once you get the hang of this, it doesn’t feel like all of the words you just read. In fact, when I learned to dip chocolates growing up, the word “tempering” was never even used. We just did it, and everything came out beautiful.



Is it possible to use unsweetened Hershey’s baking bar and not semi-sweet or bittersweet chocolate?
Thank you very much 🙂
Unsweetened chocolate has no sugar and no fat, so it doesn’t melt as easily–your result may be grainy. Because of that and also because of its flavor, unsweetened chocolate is not used for making candy.
It seems there are nearly as many life metaphors for chocolate as there are for bread. No wonder they go together so well…
Well I see no one else would even touch this subject so I guess it is time for us engineers to comment.
I now understand what happened as a child when the baby sitter made fudge for us. It didn’t always harden, other times it hardened in the pot and we couldn’t get it out. One time when it didn’t harden we were using spoons to eat it out of the pot and, as you say, it still tasted good. However someone cracked a joke I laughed and choked on a spoonful, it got up into my sinus cavity, then it hardened. I tasted fudge for a week after that. Apparently my sinus interior is 89 degrees and it achieved the “temper”, hard and I assume shiney. 🙂
Now on Mackinaw Island they don’t have that problem with fudge. They dump out 50 pound loads on a marble table and keep moving it around while it cools. Of course if you are going to make Mackinaw Island fudge you have to have a recipe. That is a 5 pound recipe, not 50.
Hope everyone had a good Thanksgiving.
best, Jerry
That’s funny! Jerry, I promise you that fudge recipe, I promise!